I'm reading all of these posts from other art teachers who have already gone back to school with their kiddos...and here I am, neglecting my elementary art room! I've spent A LOT of time in the high school room and with a week left before students arrive, I figured it was about time I spent some time in the elementary room!
Since I knew that I was going to be taking on the high school experience, I didn't take down the decorations or posters in the elementary room. Though it's going to bug me to not have much of a change in that room for two years, I'm just going to have to deal with it. (I'm one of those peoples who has to rearrange my living room furniture every few months or I go nuts!)
The first step was redoing my
school teacher page. I've been working on that since Friday. Our school website was recently revamped by a new website host and the process of doing our teacher webpages is now EXTREMELY easy...just like using Microsoft Word (which is great because it's been a while since I've used HTML coding!) Then, yesterday I spent about five hours in the room organizing, laminating, taping, and getting ready to do the final touches in the next day or so!
New sink feet to keep those little ones in line at the sinks.
New table signs. These are a little smaller then last year's signs. I've also added numbers that will correspond with the job list. Instead of each table having a single job at clean up, each student at each table will now have a different job at their own table. This will hopefully make clean-up going even smoother than before, especially when one table finishes ahead of others. I was smart this year...I made an original, black and white and brown paint palette and then made colored copies. This way, if I have to put a new palette sign out, all I need to do is copy off a new one, color it the color it needs to be, laminate and change it!
Since I'm only seeing students once a cycle on the elementary end, I changed my Artist of the Week to Artist of the Month. Just did a quick rewrite on white paper, taped it over the word and re-laminated the sign.
I finished putting away my art supplies...I strongly suggest, if you don't already, writing the date on your supplies when you get them, particularly paint, glaze and gallons of glue! This way, you can easily rotate your stock and use the older supplies first! This will prevent paint from getting old, separated and being thrown out and wasted.
My tempera paint cabinet is quite full this year...The short bottles on the bottom are extras that have been given to me over time by other teachers cleaning out their rooms. I don't order the small bottles (except for the gold, silver and fluorescent temperas). If teachers come looking for paint, I usually give them the small bottles to use. I can guarantee that if you pulled out this paint, it is completely rainbow organized and everything is dated on the cap!
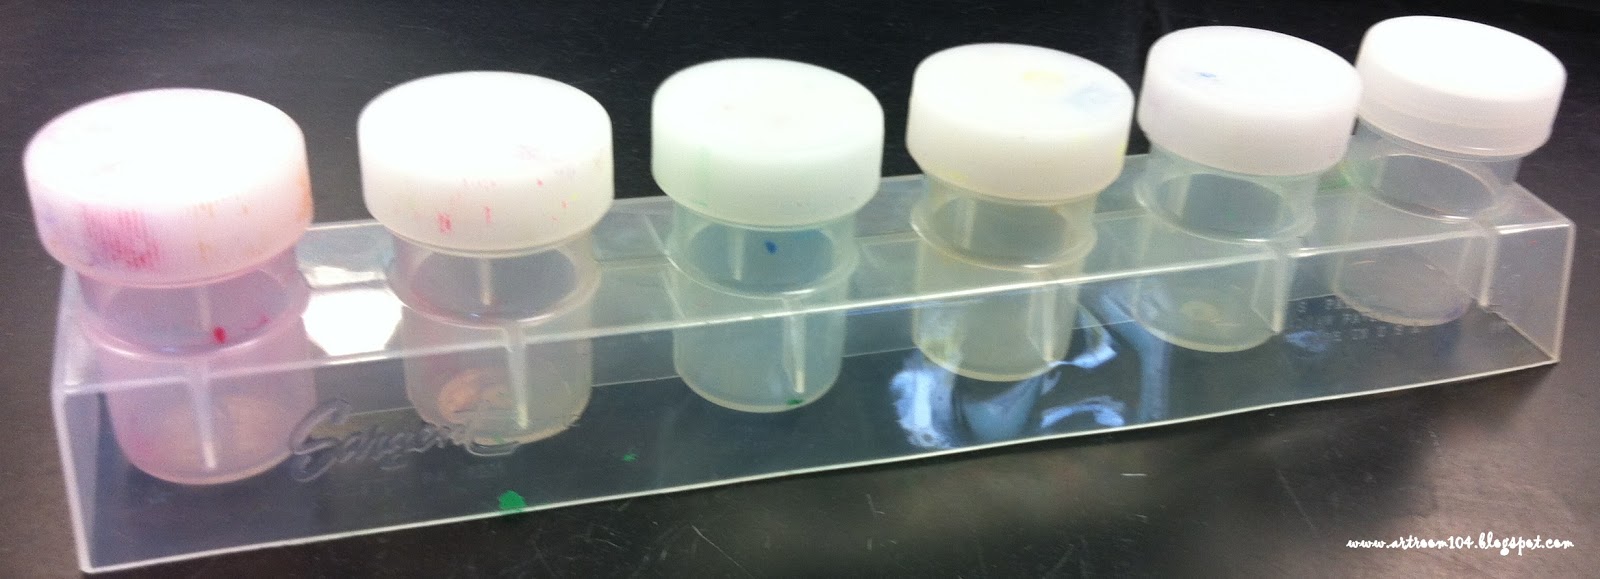
Just as a side note, using these paint containers last year was the BEST decision I ever made! I wasted very little paint! My tempera cabinet is extremely full and I probably won't have to order much paint for next year! We always have to do our requisitions for the following year around February, so it's always a bit of guess work on the amount to order.
I purchased this set of tempera cakes for my classroom...I've never used them before and any input would be greatly appreciated!
The supply bins weren't really that beat up, so I decided that they didn't need a new coat of spray paint this year. They are all organized and ready to go for the new school year!
The kids will be excited for new scissors! The old scissors weren't very sharp anymore and even students who had a good grasp on scissor skills struggled with cutting sometimes. I bought new Fiskars for this year. I also added some skinny markers to the bins. I bought new Mr. Sketch skinny markers to pull out on specific projects, but I still have about 3 1/2 bulk boxes of used skinny sketch markers, so I decided to put them out and let them be used for free draw assignments. It's time to start letting go of some of those older supplies!
Each pencil bin has four pencils, four erasers and a hand-held pencil sharpener. The kids end up using the loud sharpener too, but this at least lessens the line at the big sharpener.
 I pulled this paper organizer from another teacher's hallway trash this summer. One of the supplies I ordered this year was a class pack of construction paper crayons. Since I have such a surplus of construction paper, I think I'll gear more of my projects to involving crayons on construction paper, at least for the K-2 kids.
These are my bulletin board signs. I made fresh ones for this school year since we have new elementary teacher assignments and new elementary teachers. I simply created these in Word and made a sign for each classroom teacher. I also made signs for each grade level. Then, all I do is write the project title and staple the sign on the board with their projects! Makes for less paper waste.
Finally, the last thing I accomplished, with the help of my hubby, was turning some of my chalkboards into white boards. Am I weird that I can't stand the feeling of chalk on a chalkboard? Or on paper for that matter! I don't think I will EVER do a chalk pastel project! I hate the sound and that feeling of chalk...so I bought a roll of
Go Write! Dry-Erase Paper on-line from Walmart. This is definitely a two-person job! Here's how we did it:
First we unrolled the paper and cut it to size of the chalkboard. We peeled back the plastic and bent it to show the sticky surface.
We attached and aligned the plastic on the chalkboard (of course I couldn't buy a roll big enough to cover the board in one piece, so I had to use two here)..
...and then slowly, I pulled the plastic backing down while my hubby used a straight edge to bring down the bubbles out of the paper as it stuck to the chalkboard.
The elementary white board is complete! This is now where I will write objectives and have the job list.
We went down to the high school room to do the same, but ran into some problems. We wasted about 4' of paper. As we got to the end of the roll, there were more air bubbles already in the plastic. When we tried to smooth them out using the same technique as before, we stretched and wrinkled the paper on the board, so we had to change tactics.
This time, we used a razor to score a line on the back plastic. Instead of going horizontally, against the bubbles, we went vertically, with the bubbles and wrinkles.
Then, I pulled the plastic, one side at a time, off as hubby vertically used the yard stick to press out the air bubbles.
Since we wasted 4', we couldn't cover both boards, but I think I like them like this. I haven't decided yet, but I will probably use the colored duct tape to make a border around these. Home Depot has circle dry erase stickers that I may purchase to put below the white dry-erase space (though they are quite expensive, so it's a distant thought at the moment). My thinking is that one board will be the 7th grade board and one will be the Studio Art board. If I purchase the circles, one circle would be that class's bell ringer, one would be their exit slip question, and one would be their homework assignment.