Now that we have finished up the
cubist superhero paintings, the last and final aspect of my 2nd unit in Studio Art is the printmaking portion. For this unit, we are covering Andy Warhol, pop art, and reduction printing with linoblocks (I don't have all of the materials to do screen printing, nor am I as familiar with screen printing, otherwise I had considered doing screen printing like Andy Warhol). This will probably be the last project I get completed with this class before my maternity leave.
My Studio Art bulletin board in the classroom.
My example of a reduction print. I did this during my student teaching with a printmaking class.
For the first two days, we have been working on planning out our pop art object print. Students were required to bring in an object or photograph of a person/character from pop culture today. (Some of the items that have been used are baseball caps, the bear from the movie Ted, a rubics cube, Minions, etc.
After students draw out and plan what their finished print will look like, I have them plan out each step of the reduction print process using tissue paper layers. The first step is to make a print of their entire linoblock. If there is anything they want to keep white for every print, they must carve it out first.
The second step is to carve away the area around the object so that you just have the contour of it.
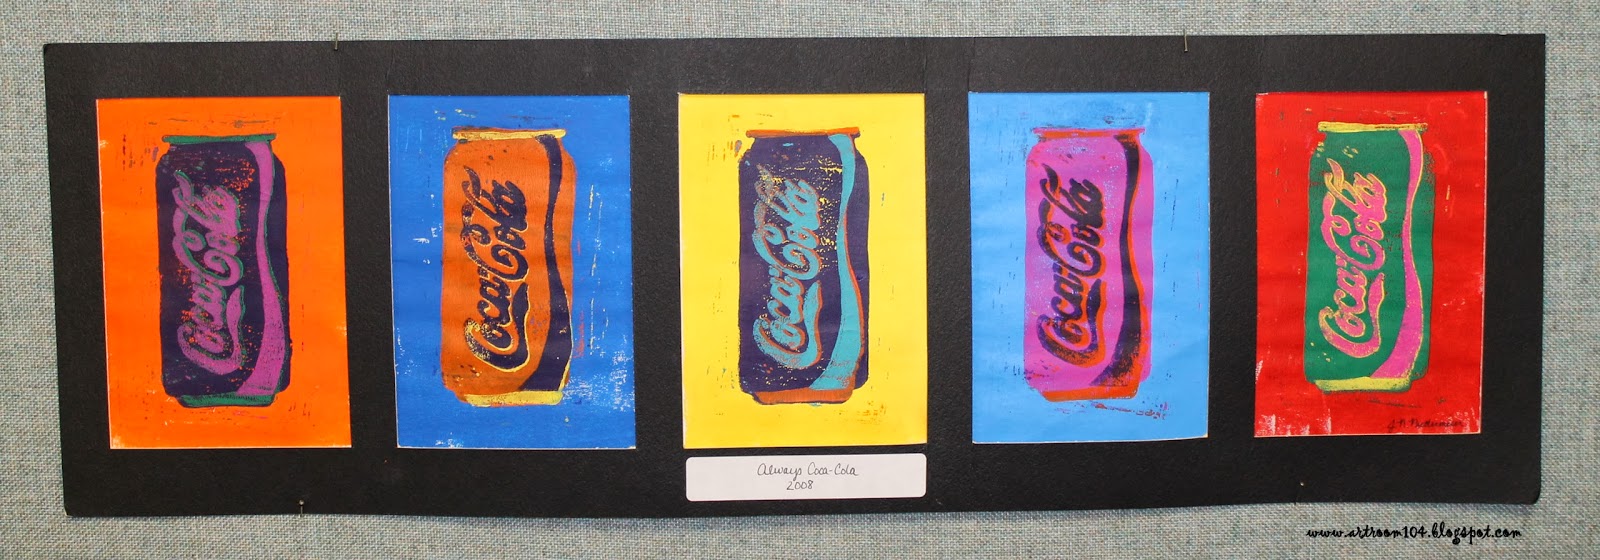
For this project, I am requiring that they have at least four colors/steps in their prints, like my Coca-Cola can.
Another example I did during my student teaching. I created this and took a photo of every step to create a visual poster with directions. This particular reduction print had six steps to it.
These are three student samples from my student teaching. I did this with a printmaking class that had only 3 students.
Here are the close up shots of my visual poster that I had made. Sorry for the bad photos...it was laminated and didn't photograph very well under the poor lighting at school.
Draw the design on the block, carve out anything that needs to stay white, and make your first print.
Carve out the area around your object...make your second print...
So, basically by the end, you have nothing left on your linoblock!
Currently the Studio classes are working on making their 10 background prints. Those are due by the end of class today. Tomorrow, we'll carve out the area around their object and I'll show them how to carefully line up their block with their first print to layer the second on top. When finished, students will have to submit to me four of their best prints and eventually we will mat them (whether my maternity leave sub is comfortable teaching that or it waits until I return to school...)