Showing posts with label pointillism. Show all posts

Tuesday, June 11, 2013

4th Grade Pointillism Still Life Paintings

As you may or may not remember, my local assessment for APPR is happening within the 4th grade classroom.  At the beginning of the year, I set up a white still life and asked the kids to draw it as best they could, adding value where they saw it.  I gave very little instruction to get a baseline on what they already knew how to do.  We did talk a little bit about composition and what value was, as well as went over the rubric before they started.

Throughout the year, we did various art projects that dealt with value and drawing from real life in order to gear up and get ready for the post-assessment portion (nothing like teaching to the test, huh?).  Check out my 4th Grade Art Lessons page to check out these projects from the year.

I wanted to do a pointillism unit with the students because this particular group really liked the dot painting project we did last year, so I decided to do a pointillism still life painting with 3 bottles. I love the pointillism technique (and I think the kids do too) because it's very forgiving and very easy to blend color with the paint this way! The purpose of this project was to:
        1.  Teach students how to draw realistic bottles using ellipses.
        2.  Blend and create value using paint.
        3.  Review shadows and high lights in an artwork.

The students really enjoyed this project.  Normally I would have the students use q-tips for a pointillism project, but I knew it would take forever so we simply used paint brushes and acrylic paint (primary colors, black and white).  Students had to have at least one bottle that was a secondary color in their still life.

I did not set up a still life for this, but the students did draw their still life bottles from real bottles.  They had to have two real bottles in the painting and then they could opt to make up a bottle for the third one if they wanted.

Currently, the 4th graders are spending their last art classes doing their final still life artworks.  Since so many of the liked painting, I gave them the option of painting their still life or shading with drawing pencil, whichever they felt they were better at.  I can't wait to share and compare their results from the beginning to end of the year!  They're turning out great!  (Check out some of the post-assessment still life drawings here!)


I did want to share, also, that this particular project is a big revamp on a version I did my first year of teaching.  It was the FIRST project I did that year with 4th grade, and as I look back at it now, I'm SO HAPPY with the changes I've made!  I'm really finding it interesting to look back at my old Artsonia galleries from that first year because I can see my growth in how I approach teaching various subjects to the students!

The first year, I had students trace two vases, overlapping, on a piece of tag board.  We talked about how warm colors come forward and cool colors recede (which I did not talk about in this years project...I just told students that their ground had to be black and the sky/wall had to be blue).  You can totally see how drawing from a real life still life benefited the students this year!  Their artwork looks much more mature and advanced compared to the first year!


Saturday, March 2, 2013

YAM: Artistic Staff Development, Post #3

Here is part 3 of my 4 part YAM Artistic Staff Development post!

5. Piet Mondrian: Mixed media artwork:  For this project, the teachers will use tissue paper.  The process will be much like my Mondrian collages that the Kinders did earlier this year.
Cut out various shapes and sizes of squares and rectangles.

 Coat the canvas board quickly with acrylic gloss.  Lay the tissue paper on the wet gloss before it dries.

Paint gloss over top of tissue paper. Be careful if you are using tissue paper that bleeds!

 Dip the flat edge of a paint scraper in black acrylic and add horizontal/vertical lines to your collage.


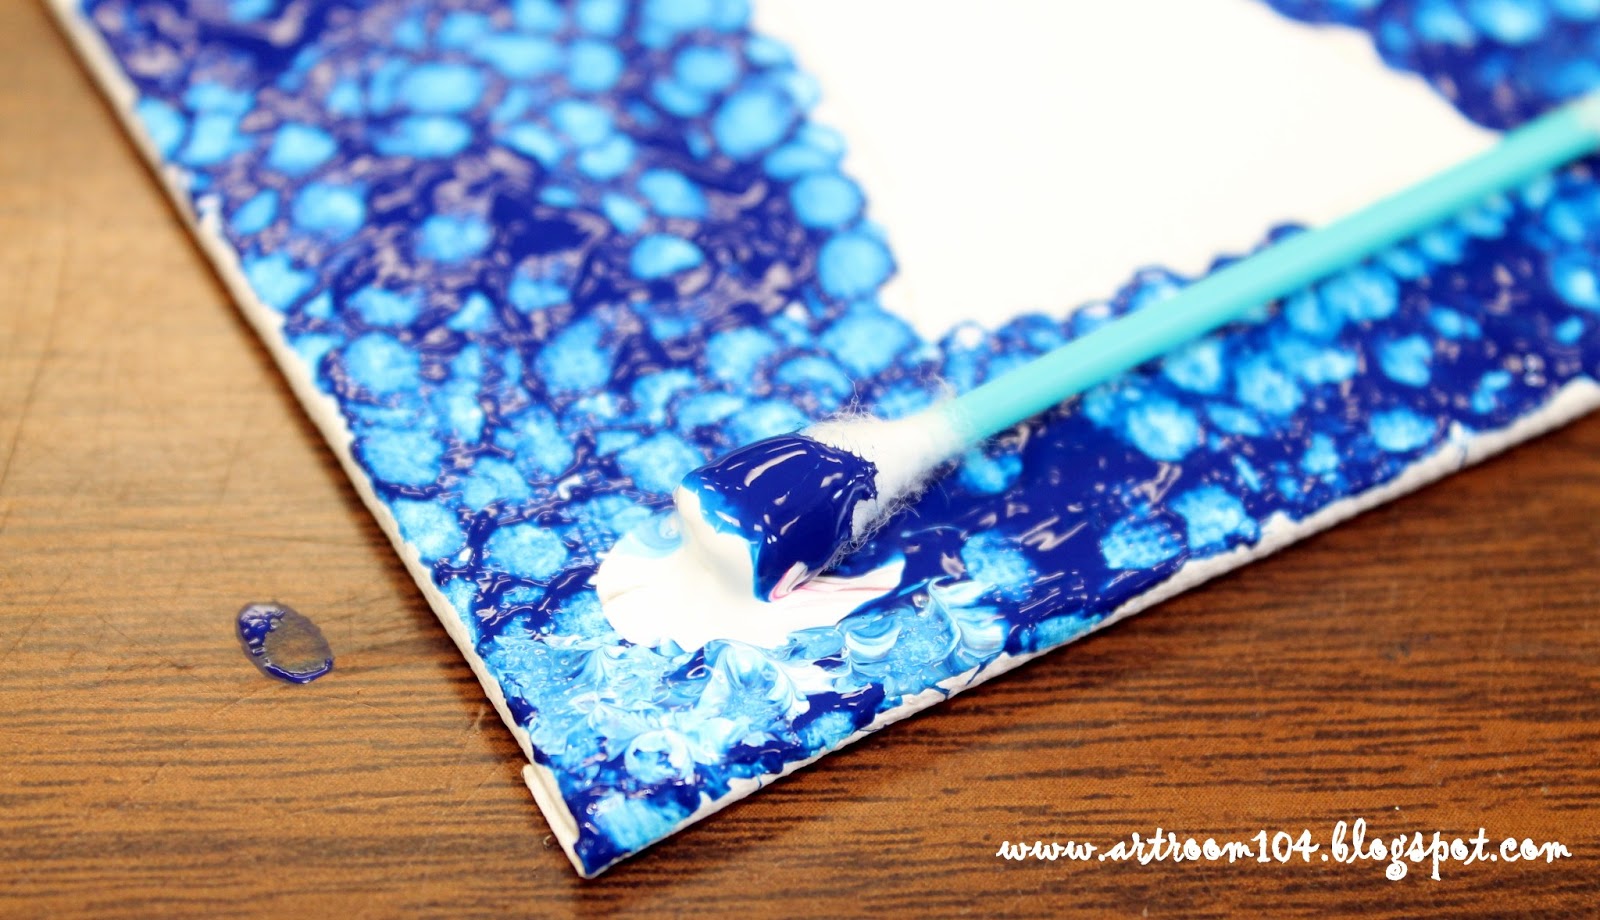
6. Seurat: Pointillism Still Life:  Teachers will create this still life using acrylic and q-tips!

 Draw a simple vase with a horizon line.  Using dots, paint the ground (below the horizon line) black.

 Add some white dots to the edges to lighten it.  Keep the ground right below the vase darker...this is the shadow from the vase.

 Paint the background (above the horizon line) with blue dots.

 Lighten the edges by dotting in some white paint.  Dot the vase red.

 Dot in some yellow and white in the middle of the vase.  This will help make the vase look 3-D.


...to be continued!

Sunday, December 9, 2012

Forgot to Post This!: Kindergarten Fall Trees

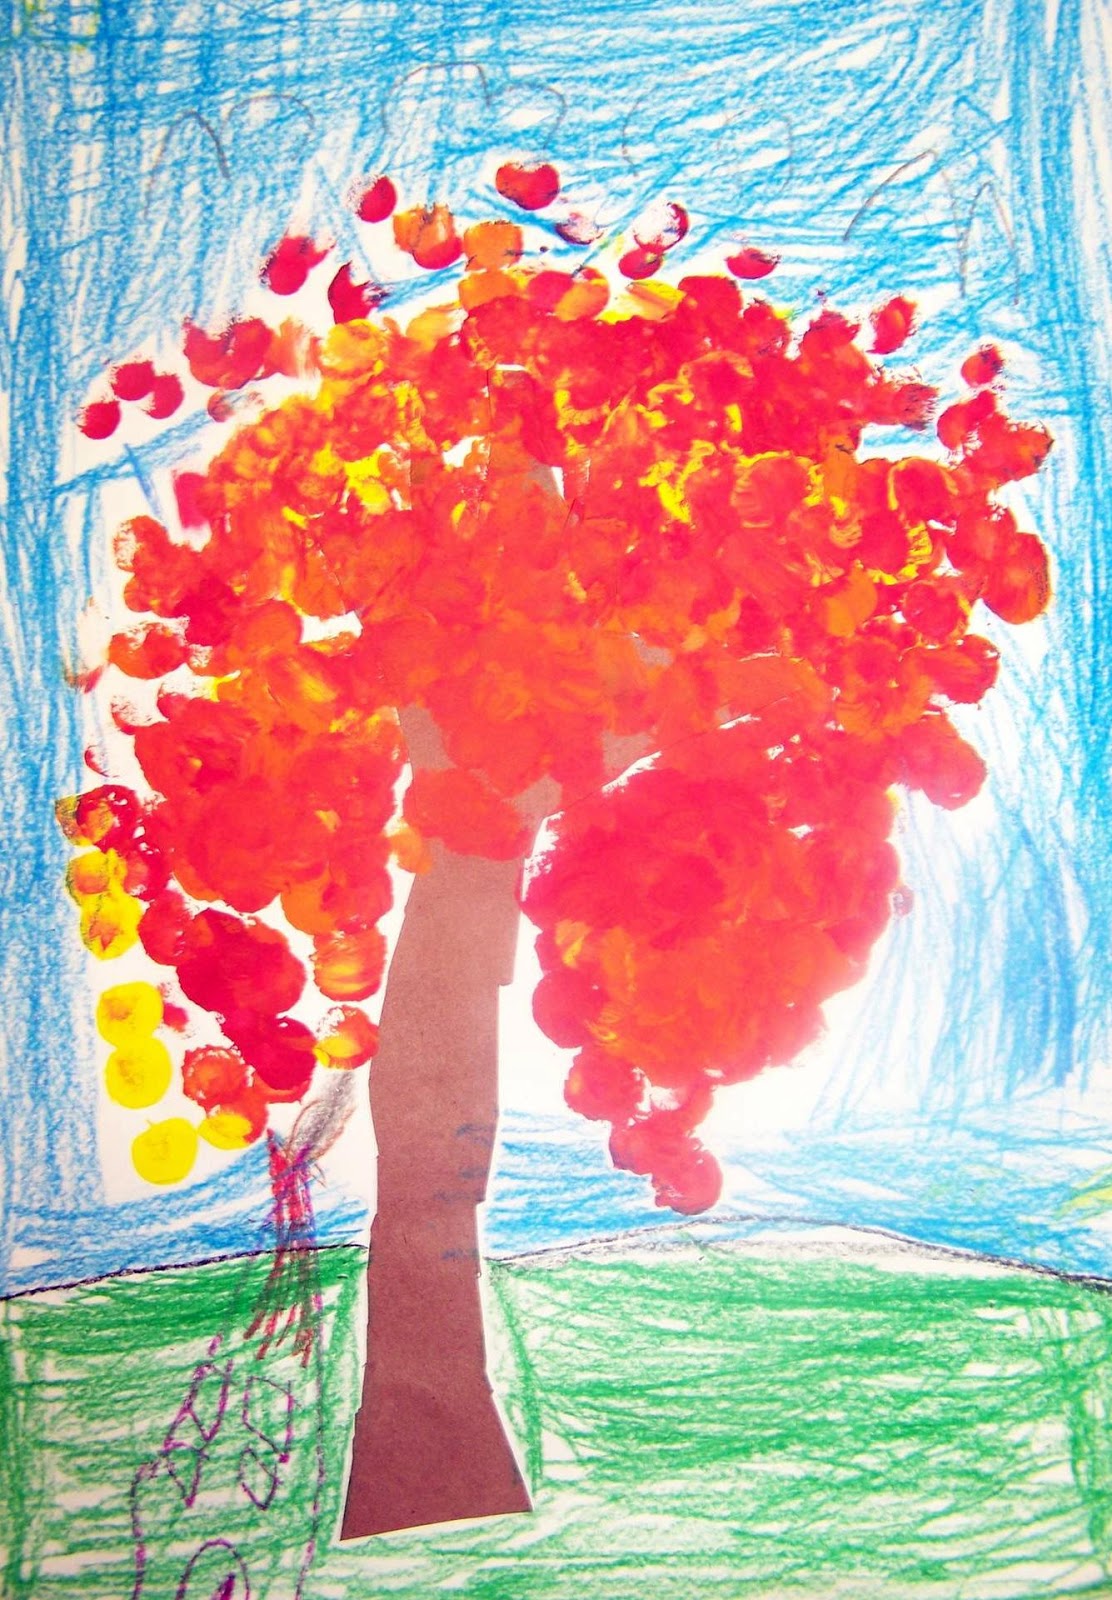
I can't believe I forgot to post these!  They turned out awesome!  We did this project back in October/beginning of November.  This was a 2-day project.

Day 1: Students traced their arm and hand, cut it out, and glued it to paper.  We looked out the window and observed the changing trees.  I gave students foam dauber brushes to add the leaves to the trees.

Day 2: On the second day, we looked over the craftsmanship rubric and discussed what details could be drawn with our trees.  We also reviewed that the sky needs to be colored all the way down to the ground, and the ground all the way to the horizon line.


Tuesday, July 24, 2012

Private Art Lesson Day!

This last school year, a parent of one of my students asked if I would give her daughter private art lessons!  So exciting!  We started off with learning to draw a still life and observing placement.  (Oh yeah, my student was in third grade when she started these lessons with me.)  We went onto some basic shading and then added shading to the still life.  Here are some of her drawings she has done with me.

 She was having a hard time controlling regular pencil so we started off creating value with colored pencils.  After she got the hang of that, we moved to black and white shading.
Here is a one hour still life she did, shaded with colored pencil.


After the drawing lessons, we moved onto painting, which she is really enjoying.  I have taken pictures of all her paintings up until now, but we started with q-tip pointillism for mixing colors...We did a koi pond pointillism painting and then we created a Monet style water lily painting.  Those were both one hour paintings.  During her previous lesson, we started a peacock and it turned out really great!  This peacock painting is a two-hour painting.  

We started by doing a pointillism body.  We added details to the smaller green feathers with a fine tip brush.  The second art lesson, we added the tail feathers using a combination of brush painting for the stems of the feathers, an actual feather to create the wispy feathers, and pointillism to create the eyes on the feathers!  I think it looks awesome!

Recently, my student and her mother took a four hour painting class by a local artist and she really enjoyed it.  She was able to paint in oil paints and did a really nice job!  We're going to move onto watercolor paint (from the tube) and then eventually oil paints in our private lessons.