Tuesday, February 25, 2014

Mouse Color Wheels

This has been a project four class periods in the making...much longer than I intended to spend on it, but as we got into it, I changed my mind as to how it was going to be finalized.  Originally, I was just going to read Mouse Paint with my K-3 12:1:1 class and then have them make mice in the primary and secondary colors, and then place them in a circle to create the color wheel.

But then...a light bulb turn on in my head and I thought..."Why not create a color wheel based on the art in the Frederick book?!"...and ta-da!  This painted collage project was born!
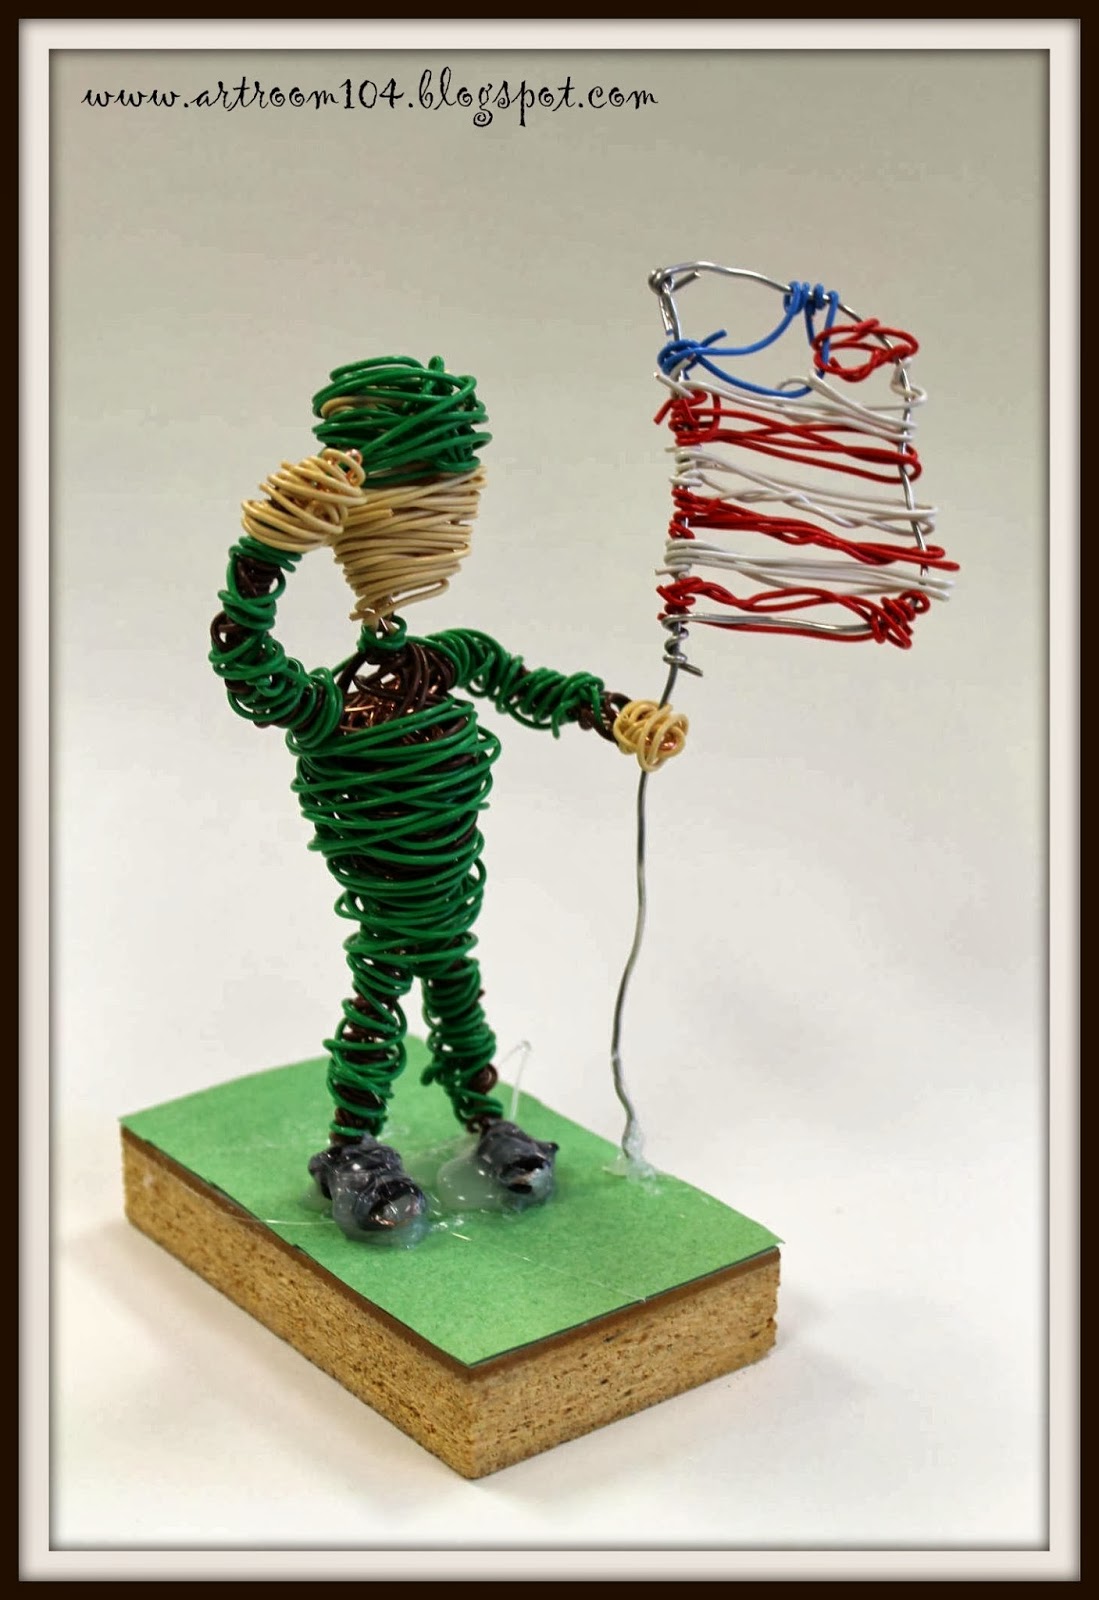
This is my example of the project.

So, on the first day of this project, we read Mouse Paint.  This was a good review of primary and secondary colors for those who have had me for two years already, and a good, quick way to introduce them to the new students in the class.

On that first day, we first colored this worksheet which I found through Pinterest.  Another great example of incorporating Common Core and color sight words for these students.

Also on the first day, I gave students a piece of manila tag board that I had split into six squares for them.  They painted the first three squares the primary colors (good practice for these students to paint the outline and then paint inside their lines) and then mixed the secondary colors on a plate to paint the other three squares.

On the second day, we read the book Frederick.  I had students then paint a piece of manila paper with white and black paint.  We tried to recreate the look of the rocks in the Frederick book.  We also used paint scrapers to add some cool texture to the paint. (In my first year of teaching, I actually did a Frederick project using a worksheet from the Leo Lionni website, which is where I got the mouse pattern from for this project.  You can see those projects here on Artsonia.)

After we cleaned up the paint, we had about 10 minutes left on the second day so I showed students the video of how Leo Lionni made the mice for his books.

On the third day, we drew our rocks and boulders on the back of the grey painted paper and cut them out.  I had the students glue them to white tag board.  Then, they started tracing the mouse shape (like Lionni's version) on each of their six painted colors.  They cut those out too and placed them in the order of the color wheel on top of their rocks.

Finally, on the last day, the students added legs, arms, ears and eyes, just like Lionni did in his video.  This was also good fine motor skill practice for some students to cut out those small pieces and glue them.


Saturday, February 22, 2014

Getting ready for YAM!

Yup, it's that time of year again!  YAM!  Last year I really went all out with a trivia question every day, a spirit week, and two big dress-up days.  Unfortunately, this year I feel like I can't really outshine that (due to time constraints at home ;) ), but do some other exciting things instead!  So, here's a sneak peek at my plans for YAM 2014!

Firstly, I'm going to do spirit days on every Monday, Wednesday and Friday of the month.  Here's the calendar I just made that will be going home with every student:

Second, I'm hoping that my Art Night will make up for the lack of trivia questions this year.  The 12th is our spring conferences night, and since I never have to schedule parent-teacher conferences, I figure this would be a good opportunity to get some parents involved with making art with their children.  If you remember from last year, I did a similar thing with the teaching faculty during YAM.  I plan on using my posters and leftover materials (the small canvases) for this art night.  Generally, the spring conferences tend to have poor attendance across the board, so I will either have enough materials for who shows up, or it will help bring in more parents to school!

The 28th is going to be a big dress-up day.  Last year I had great participation from faculty and students for my "dress like an artist" day, so I'm hoping for equal enthusiasm for "dress like an artwork" day!  I have enough leftovers from last year to give out prizes to the best dressed students, so I'm hoping this will be some incentive to get students involved in the day!

Thursday, February 20, 2014

Studio Art: Ceramic Unit Part 2: Pinch

In hindsight, I supposed I probably should have done this project before the slab project...next year.  For this project, I was first looking for perfection.  I know, I know...perfection in art class?  For this, it was doable and every single student succeeded in my opinion!  For this two-part sphere challenge, students were asked to create the most perfect sphere out of two pinch pots.

The first step was to make two pinch pots of about the same size and score and slip them together.

Next, students used a ruler to slap and shape their hollow ball of clay.

Some rolled their spheres on the table to help smooth the surface, others used a wooden rib tool to scrape and smooth the edge.  I did not encourage the use of an elephant ear sponge and water to smooth the spheres.  The only students who used that as an option were students whose clay started to crack towards the end.

 Once everyone completed their spheres...we invited the administrators into the classroom to judge them.  This is the challenge part.  I offered, to the winner, the choice of being able to opt out of a quiz, a homework assignment or for me to buy them a king size candy bar.  Amazingly, I think both winners opted for the candy bar!  Since all of the students did such an awesome job, I did buy some bags of candy and planned on giving them a free day before February break (of which we ended up having a snow day...go figure!).
Students lined up their spheres on a number so the administrators could pick the winner from each class.


The "part-two" of this project is this: students had to carve a non-objective line design into the surface of their sphere.  We will glaze these using the glazes I have specifically for red clay. ***It's also really important to note that before these were set out to dry, students had to poke at least one hole with a needle tool through the surface of the sphere.  This way, the air inside as a route to escape so the spheres don't all blow up in the kiln!***

Part three of the ceramic unit has not been started yet...upon return from February break, students will glaze these projects for firing and then we will work on the last project of the ceramics unit, coils!

Studio Art: Ceramics Unit Part 1: Slab

The current unit my Studio Art students are working on is a ceramics unit.  Ceramics is my ALL TIME FAVORITE!  It's actually what my concentration was in in college, so I always love to do clay units.  Here is the basic break down of this unit in three parts.  Students are creating a project using each of the three hand-building skills.

The first project they completed was a slab, slump or hump mold project.  Quite a few students wanted to do masks, something they did in 7th grade with the previous art teacher.  I didn't want to hinder that since they were SO into it, but other students didn't want to make masks again, so I decided to call it a slump/hump mold project.  I brought down my slump/hump molds from the elementary room and got out the mask forms. First, I showed students how to wedge and stretch the clay, roll it out, and drape it in or on their mold. Then they received the project guidelines.  The project had to (1)have a theme, (2)have multiple types of texture, and (3)have at least 10 scored and slipped pieces attached to the project.

I supplied students with texture rollers, texture stamps, and all of the other clay tools they might need to add interesting texture to their project.

Here are their projects during the last few days of construction.  Currently, they have all made it through the bisque firing and are in the process of being painted and/or glazed.


This one is meant to be Skittles and M&Ms...


Of course, this one is mine!

Sunday, February 9, 2014

6th Grade Egyptian Papyrus: Book of the Dead

Last year when I did my requisitions, I was lucky enough to still have a rather large budget.  (Unfortunately, now that I am one teacher teaching k-12 in my district, my budget has been more than cut in half compared to what the total k-12 budget was last year! :( )  I bought real papyrus with hopes of doing a Book of the Dead project with my 6th graders in alignment with their Ancient Egypt unit in social studies.  My substitute started this with one class and I with the other.

You might be able to tell the difference between the two classes in the examples below...the students pretty much copied the torso figures from the Egyptian headdress worksheet I had provided them.  They were a little upset when I came back and told them that their people had to at least have full arms!  With the other class, I was able to give them my requirements before they started drawing their design...at least one full-bodied Egyptian figure using the Egyptian canon of proportions (profile head, frontal view of the torso, and profile view from the waist down), at least 10 hieroglyphics written in registers, and the figure they drew had to be wearing an Egyptian headdress. 

These two are my "star" student's artwork!  The one on the left has always been artistic but has had behavioral issues in the past.  This year he is on track and putting out AMAZING work!  He came in and worked through his lunch period just to finish this for me!  The one on the right is by a student who notoriously dislikes art...but this year he really likes doing the art along with what their learning in social studies.


Saturday, February 8, 2014

Art 7: Sculpture Unit: Wire Gesture Sculptures

My next unit for my Art 7 classes is a sculpture unit.  In trying to keep the whining at bay, I tried to come up with simple projects that anyone could excel at or go above and beyond if they chose to do so.  I have two projects up my sleeve and one group research project planned for this unit.

The first portion of this unit was to create gesture sculptures out of wire.  After taking notes about the different sculpting techniques (carving, assembling, modeling, and casting), I had students practice gesture drawings using my art mannequins.  I had students work in groups of 3 with one mannequin, positioning it into a posture with movement.  Students then had to do one final drawing in their sketchbook of a figure doing something that shows movement.  Students were then told to bring in a base for homework to put their sculpture on.

The sculpture part itself took two days.  I gave each student a long piece of aluminum wire, probably about 10 feet of wire, and told them they had to create a figure with that piece without cutting it.  A few really struggled in the beginning, but I felt this was simple enough that they should be able to problem-solve how to do this.  In the end, even one student who fought me about wanting to cut the wire managed to complete his sculpture and was extremely proud of himself. 

After the students created their sculpture, they had to attach it to their base.  Many painted their base to go along with their sculptures, which earned them more points on the creativity aspect of the rubric.
This one is one of my favorites!  I think the pose and lean in the figure really makes it feel like its running!

Another one of my favorites...this person was probably the most creative with their base!


This one is supposed to be a diver...just wish the person would have painted the base to look like a pool!


Love the headphones and arm bands on this runner!


This sculpture was the most creative in pose and in what it was doing...love it!

Again, another one of my favorites!  Very creative with the pose!

These two are serving a volleyball...

Absolutely love the hair on this one!

This one doesn't show very much movement...but I had to include it because it was very well built.  This was the student who wanted to cut the wire apart to build it.  We had a rough day the first day and he was asked to leave the classroom because he refused to work, but he came back strong on the second day and created this awesome sculpture!