Showing posts with label Andy Warhol. Show all posts

Sunday, January 19, 2014

Studio Art: Finished Pop Art Reduction Prints

This project is also one that students were working on when I left for my maternity leave.  I am EXTREMELY pleased with this project!  Reduction printing is definitely a hard and lengthy process but they stuck with it and completed their prints!  My sub wasn't comfortable with having them mat their artwork, so I taught them that process when I got back.  I have two mat board cutters and it took us all week to complete this project and wrap up the other two that they did with my substitute.  Each student measured out and did the math to cut their boards...even the ones that had a hard time with the process did a great job as matting more than one print on a board is way more difficult than matting one artwork in a frame.


Wednesday, November 6, 2013

Studio Art: 2-D Media, Printmaking

Now that we have finished up the cubist superhero paintings, the last and final aspect of my 2nd unit in Studio Art is the printmaking portion.  For this unit, we are covering Andy Warhol, pop art, and reduction printing with linoblocks (I don't have all of the materials to do screen printing, nor am I as familiar with screen printing, otherwise I had considered doing screen printing like Andy Warhol).  This will probably be the last project I get completed with this class before my maternity leave.
My Studio Art bulletin board in the classroom.  

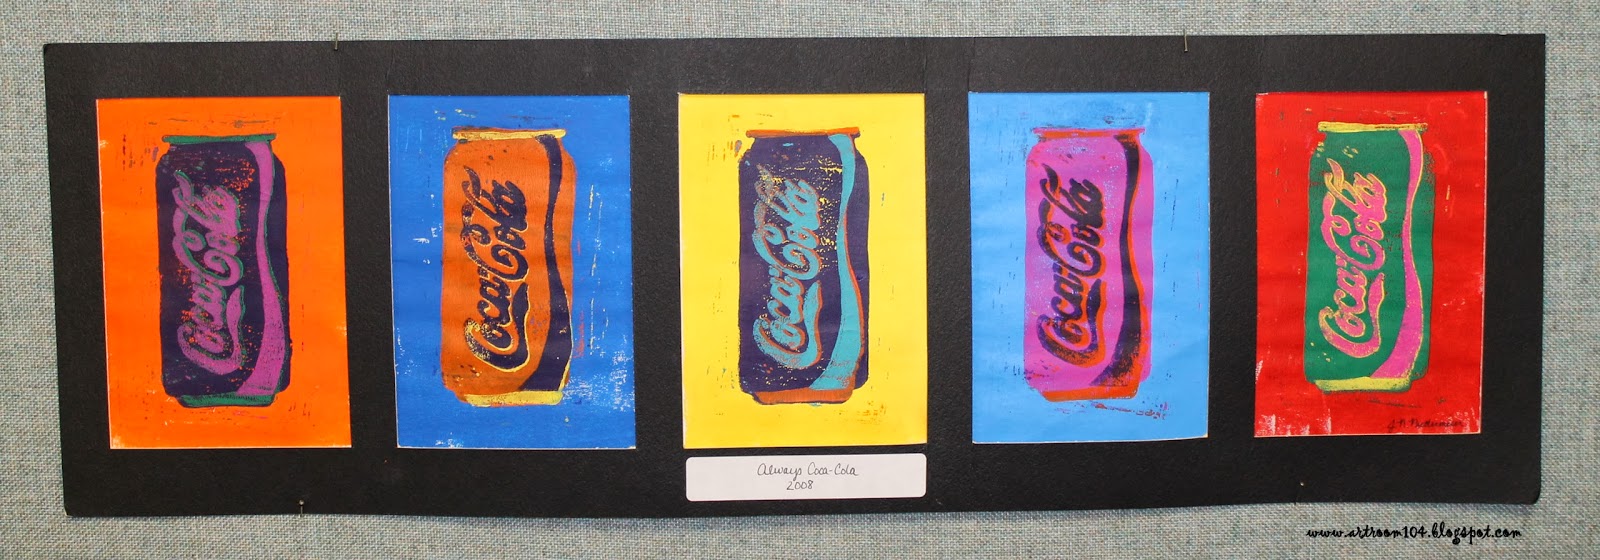
My example of a reduction print.  I did this during my student teaching with a printmaking class.

For the first two days, we have been working on planning out our pop art object print.  Students were required to bring in an object or photograph of a person/character from pop culture today.  (Some of the items that have been used are baseball caps, the bear from the movie Ted, a rubics cube, Minions, etc.

After students draw out and plan what their finished print will look like, I have them plan out each step of the reduction print process using tissue paper layers.  The first step is to make a print of their entire linoblock.  If there is anything they want to keep white for every print, they must carve it out first.

The second step is to carve away the area around the object so that you just have the contour of it.  

For this project, I am requiring that they have at least four colors/steps in their prints, like my Coca-Cola can.

Another example I did during my student teaching.  I created this and took a photo of every step to create a visual poster with directions.  This particular reduction print had six steps to it.

These are three student samples from my student teaching.  I did this with a printmaking class that had only 3 students.


Here are the close up shots of my visual poster that I had made.  Sorry for the bad photos...it was laminated and didn't photograph very well under the poor lighting at school.
Draw the design on the block, carve out anything that needs to stay white, and make your first print.

Carve out the area around your object...make your second print...


So, basically by the end, you have nothing left on your linoblock!

Currently the Studio classes are working on making their 10 background prints.  Those are due by the end of class today.  Tomorrow, we'll carve out the area around their object and I'll show them how to carefully line up their block with their first print to layer the second on top.  When finished, students will have to submit to me four of their best prints and eventually we will mat them (whether my maternity leave sub is comfortable teaching that or it waits until I return to school...)

Thursday, March 14, 2013

YAM: Dress like Pop Art Day!

So today was the first dress-up day for YAM, not counting the spirit week (MondayTuesday & Wednesday, Thursday & Friday ).  Today was dress like pop art day!  I went all out, and a few others did as well!

I, obviously, went all out for Roy Lichtenstein, as another student did!

This class decided they wanted to dot their faces as well...a few wore some popular logos.  The two boys in the bottom left corner went Andy Warhol and they wore the same outfit but in different colors!  I was happy to see that someone did that!

There were a few other great outfits, however underneath all that make-up, I was trying my hardest not to fall flat on my face and sleep.  I should have taken a sick day today, because now I've almost completely lost my voice again, but I bought my pop art outfit just for today!  I had to wear it!


Monday, March 4, 2013

Artistic Staff Development: Monday Meeting

Today's artistic staff development was successful!  No one complained...though there were some jokes about whose artwork might be worse than whose...and I found out we have quite a few artistic teachers on staff!


Saturday, March 2, 2013

YAM: Artistic Staff Development, Post #1

I am going to do this post in four, otherwise there would be too many photos.  As part of my YAM activities, my principal invited me to do some artistic staff development with the teachers to get them on board.  One of the things I have asked them to do (and my principal backed me up and made it a requirement for the teachers to do) is to read a book about an artist to their students and do a small project of some sort.  It doesn't have to be an art project...I'll do that for them in art class.  It could be a writing project...cooking activity...whatever.  

As you can probably imagine, there are a few people who aren't on board.  Surprisingly, there are a few who say it's a waste of their time and doesn't pertain to them.  (My administrator took extreme offense from this, as in her eyes, it means they don't support me or the art department in their own school.  Have I mentioned that I really like this new principal that we have this year?!)


Either way, the staff development activities will still be happening, and I'm really excited.  I have some teachers on board with me who I didn't expect to be on board with this.  One of the 3rd grade teachers brought his kids to art yesterday and told me they started looking at Picasso.  "They should be able to tell you about his blue period, rose period, and identify the characteristics of his art."  Wait, what???  You did that ALREADY?  I was blown away, and VERY excited to hear this!  Once I give the 3rd graders one more day to finish their castles, we will make some slab, cubism faces in clay.

Another example that really excites me is one of our 1st grade teachers had decided to do Monet.  She borrowed this Monet book from me, and after reading it, decided she was going to attempt cooking the scone recipe that is in the book with her students!  How cool is that?!  She said that her kids are working on creative writing, so I suggested they could write a small, descriptive story about Monet painting in his gardens.

Anyways, I have chosen eight artists to cover with the staff members.  We will do five artists on Monday after school, and four artists Friday after school. (Originally, our staff meeting on Monday was supposed to go until 4:00 and we were going to rotate through all 9, but because we have conferences on Wednesday, we had to split it up.) I'm figuring about 7-8 minutes at each station (since there will be people who will live right at 3:15, when they are allowed to).

I've done and photographed each project I'm going to have the faculty do.  This weekend I'll be making some nice visuals with my photographs to laminate and have at each table so that I can circulate between groups.

1. Van Gogh:  Marbling with shaving cream:  A few days ago, Mr. E. did a post about paper marbling.  I've tried this once before myself but never with students.  Originally, when I was thinking of Van Gogh, I was just going to recreate a simple painting of a field with a cypress tree in acrylic, but then when I saw Mr. E's post, I decided to try the paper marbling on canvas board.  Here are my results.
Original idea to base off of on the left, Starry Night influence on the right...
  
I used drops of tempera.  I probably went a little overboard on the amount of paint I used for this demo, so I'll note that in my directions on my visual.

Here is the canvas with the shaving cream paint still on it...
And here it is after I scraped it off...Can't see much of the swirl anymore.  I used cardboard to scrap it, but I will have the staff use tag board instead.  After they scrape the shaving cream off, I'll have them paint a simple silhouette.

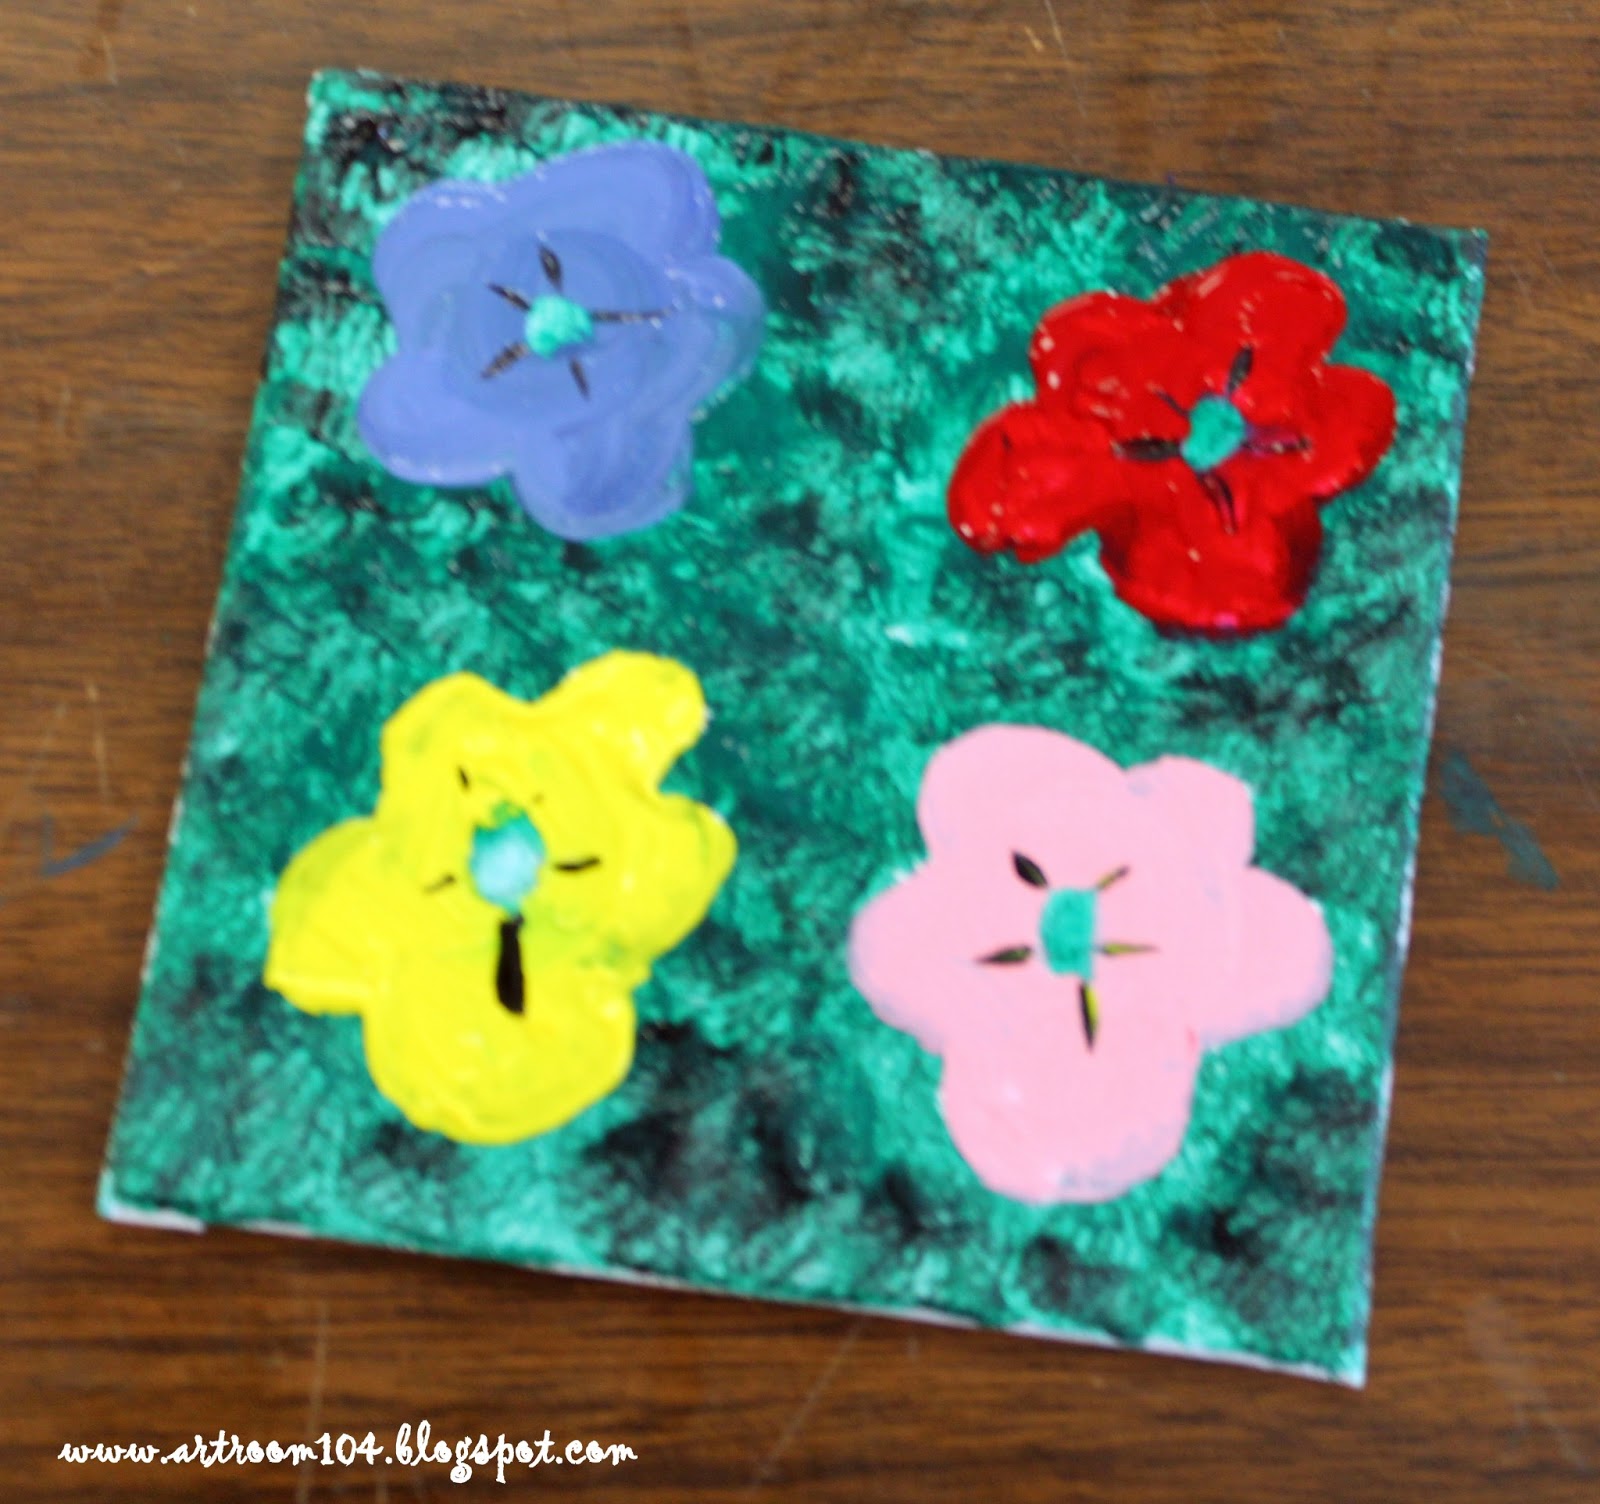
2. Andy Warhol: Repetitive subject.  For this, I will have the staff draw a simple object four times.  They'll paint the background one color, and then paint the objects four different colors.  I'm basing this project off of this print:

Draw the flowers...
Dab green paint in the background, and then add some black to it.

Paint the flowers four different colors, then add some tiny, black petal lines.

...to be continued!