
The first year I started teaching, I bought this 9-piece set of rubber fish from Dick Blick and I've used them with multiple classes since then! I don't generally use all of the fish though...the starfish and really small, skinny fish are harder to take prints off of, and the way the students sometimes manhandle them, I know they'd fall apart quicker. A few of the larger fish are starting to crack a little bit where the smaller fins are attached, so if you have these or are going to get them, make sure you teach the students to handle them and wash them with care!
Anyways, here's what we did for the Gyotaku prints. I've done Gyotaku prints differently each time I've done them, and so far I like this version the best!
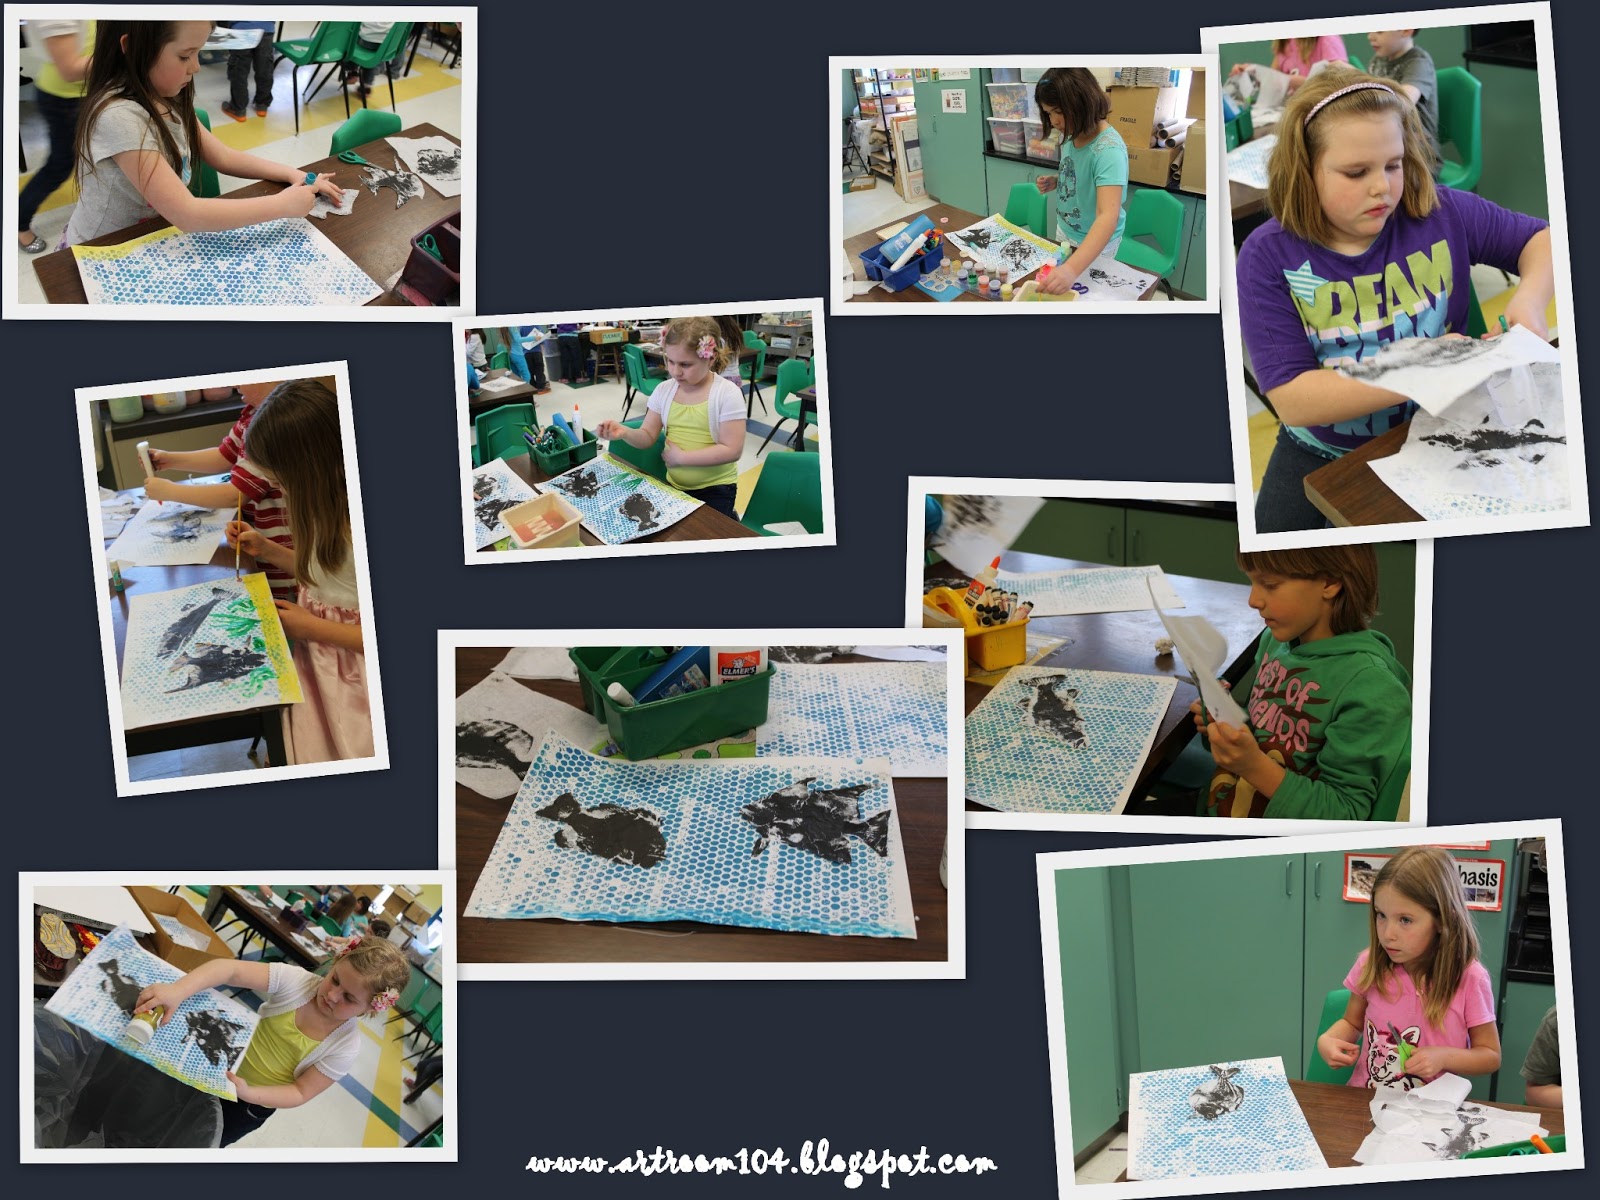
On the first day, I set up multiple stations around the room. At three stations there were a stack of white tissue paper, two pencils, two brayers, two bench hooks, one tube of black ink and two fish. At two stations, there was two brayers, two bench hooks, a tube of blue and turquoise ink, and two pieces of bubble wrap large enough to cover a 12"x18" piece of drawing paper. Finally, at my 6th table, I had a stack of 12"x18" drawing paper and pencils.
At the beginning of class, we looked quickly at a power point about Gyotaku prints and looked at the Hawaiian artist and fisherman Naoki Hayashi. We talked about the history of Gyotaku and looked at pictures of artists using real fish to make prints. Afterwards, I did a demonstration at the two stations of what students needed to do. At the bubble wrap station, students put a glob of blue and a glob of turquoise ink on the same bench hook and rolled them together to make a swirled color on the bubble wrap. By this point, we had about 20 minutes left in class to make three fish prints and one background print.

On the second day, students chose two of their best fish from their three prints to cut out and glue to their background (with a glue stick). Then, I showed them how to add sand at the bottom using Elmer's glue and a paint brush. Finally, I passed out metallic, fluorescent and regular colored paint for students to add details, such as eyeballs, scales, seaweed, coral, etc.


Here are some examples of how I've approached Gyotaku in the past...

During my first year of teaching, the elementary did a Christmas program that revolved around penguins. The decorations on the stage had to be Christmas trees decorated with fish ornaments, so I had my 6th graders do these Gyotaku lacings. They made prints of fish and then cut them out with construction paper for the back. They punched holes all the way around and then laced yarn through, stuffing the fish with stuffing before closing it up.

Last year I did these Gyotaku prints with my Kindergartners. They had to print 3 fish on a piece of paper. Then, they simply colored the background with crayons.

This project I've posted about before...I did these fish on the black construction paper at the beginning of the year with the extended day program after school.
I love all the different versions to your lesson! I really like the stuffed one!
ReplyDeleteI don't let the kids wash and handle my rubber fish/butterflies/leaves or wash them since I know that there will be somebody who does not take care with them! They use them at a station under mine or another adults supervision and I wash them at the end of the day.
I loved doing this project with my students!
ReplyDeleteThanks for the detailed instructions and ideas... I gave you credit for the inspiration on my blog: http://art4mde.blogspot.com/2014/04/2nd-grades-gyotaku-fish-rubbing.html
Debbie