Showing posts with label cherry blossom trees. Show all posts

Wednesday, February 20, 2013

Cherry Blossom Branches

Here are some of our finished cherry blossom branches from my Kindergarten cherry blossom unit.  Two of my kinder classes have finished while one more class will finish when we return from February break (a snow day threw off our schedule!). 

This was the first time the kinders painted with watercolor paint in my art room with me and I think they did pretty well!  I really love how the sky turned out behind the branches...gives the illusion of clouds!  I also the flowers this year...instead of doing just straight pink, crumpled tissue paper, I handed out a variety of Valentine colors and had students create an actual flower using multiple pieces of tissue paper (center a different color than the petals).

I am, however, still a little bit partial to the 1st grade cherry blossom trees I did last year...I'm thinking I'm going to have to mesh these two projects together next year!  (Or, maybe I'll take a break from cherry blossom trees...who knows!?)


Tuesday, February 5, 2013

Kindergarten Cherry Blossom Trees

Here's what we've been up to in kindergarten!  We've completed two of the three projects in my cherry blossom unit, and ironically, it aligned up with one of the common core listening strands that kindergarten just started in class!  On the second day of my unit, one of the teachers asked me if I was still doing cherry blossoms with my students...I told her yes and she said that it was perfect timing because they were doing the plant unit.  In one of the resources they are using, there were pictures of cherry blossom trees and the students knew what they were before she even started talking about it!  

On the first day, we looked at my power point and ended on the picture below.  We talked about what the tree trunk looks like versus the branches, and we also looked at the way the branches come together.  To make a long story short, we draw realistic looking trees using the letters "Y" and "V".  

For our intro project to cherry blossom trees, we did the pop bottle stamp cherry blossom trees that I'm sure you've seen on Pinterest.  You can see our results on Artsonia.  I do have to say that I don't think the stamping part turned out as great as the photo on Pinterest...I read somewhere that you shouldn't use a lot of paint to dip the bottles in, but I had to.  Maybe it's because I used water bottles instead of the big 2-liter bottles...


On the second day, we took a practice day, or in other words, my "acquiring and integrating" lesson.  On the smartboard, I had the students walk me through drawing a cherry blossom tree.  Then, we reviewed and referred back to the craftsmanship rubric to talk about backgrounds.  One of the things I've noticed lately is that the kinders tend to color the sky and ground OVER THE TOP of their trees and details.  Then, they try to draw more details in over the top, so I specifically talked about drawing their tree and background details before coloring.  We also talked about why we should color the details before we color the sky and grass.  For some reason, they were very hesitant to draw lots of flowers, but I suppose what they did is probably better than the cloud on top of their trees!


Today, we started the third and final project in the cherry blossom unit.  For this project, I didn't do a review of how to draw the trees...I just had students raise their hands to tell me the steps.  I put my example I had previously drawn on the board and let the kids go to town.  

Then, I pulled out some blue watercolor paint and introduced them to painting with watercolors.  This is the first time this year that I am painting with watercolor with kindergarten, so I feel it was a good way to introduce it to them since we are only using one color.  Next class, we will finish these up by crumpling pink and white tissue paper to make the flowers.


Sunday, January 27, 2013

Next Kindergarten Unit: Cherry Blossoms

As Valentine's Day approaches, I like doing lessons on the Cherry Blossom tree.  I think cherry blossoms are very beautiful...I wish they could survive in the North Country!  I don't like doing Valentine's and kitschy projects like that, so this is how I compromise.  The students still get to use pinks and reds, which makes them feel like they are making a Valentine's Day project, but I still get to teach them a little history!

I will be starting this unit on Monday with my students, but I wanted to share what I've done in the past two years with regards to cherry blossoms.  I have a power point that I use to share a little bit of the history of the cherry blossom...
     -They originate in Japan
     - In 1912, Japan gave the U.S. 3,020 cherry blossom trees as a gift of friendship.
              ~That is how we have them in the U.S. today!

We look at lots of beautiful pictures of cherry blossom trees from the park down in Washington D.C. as well as pictures of the trees from Japan.  I use this lesson as a way to introduce drawing more realistic trees, a horizon line, and coloring the sky ALL the way to the ground.  (Gulp...Phyl will dislike this, but I use the "Y" tree technique for the younger Kindergarten and 1st grade students! ;)

Here are my plans for this year's Kindergarten unit of cherry blossoms:
Our first project with be a one day project.  We'll look at my power point, and then create a tempera painting of a cherry blossom branch.  I've been dying to do this simple stamping project that has been floating around Pinterest, so we'll be adding the flowers by stamping pink paint using the bottoms of water bottles.

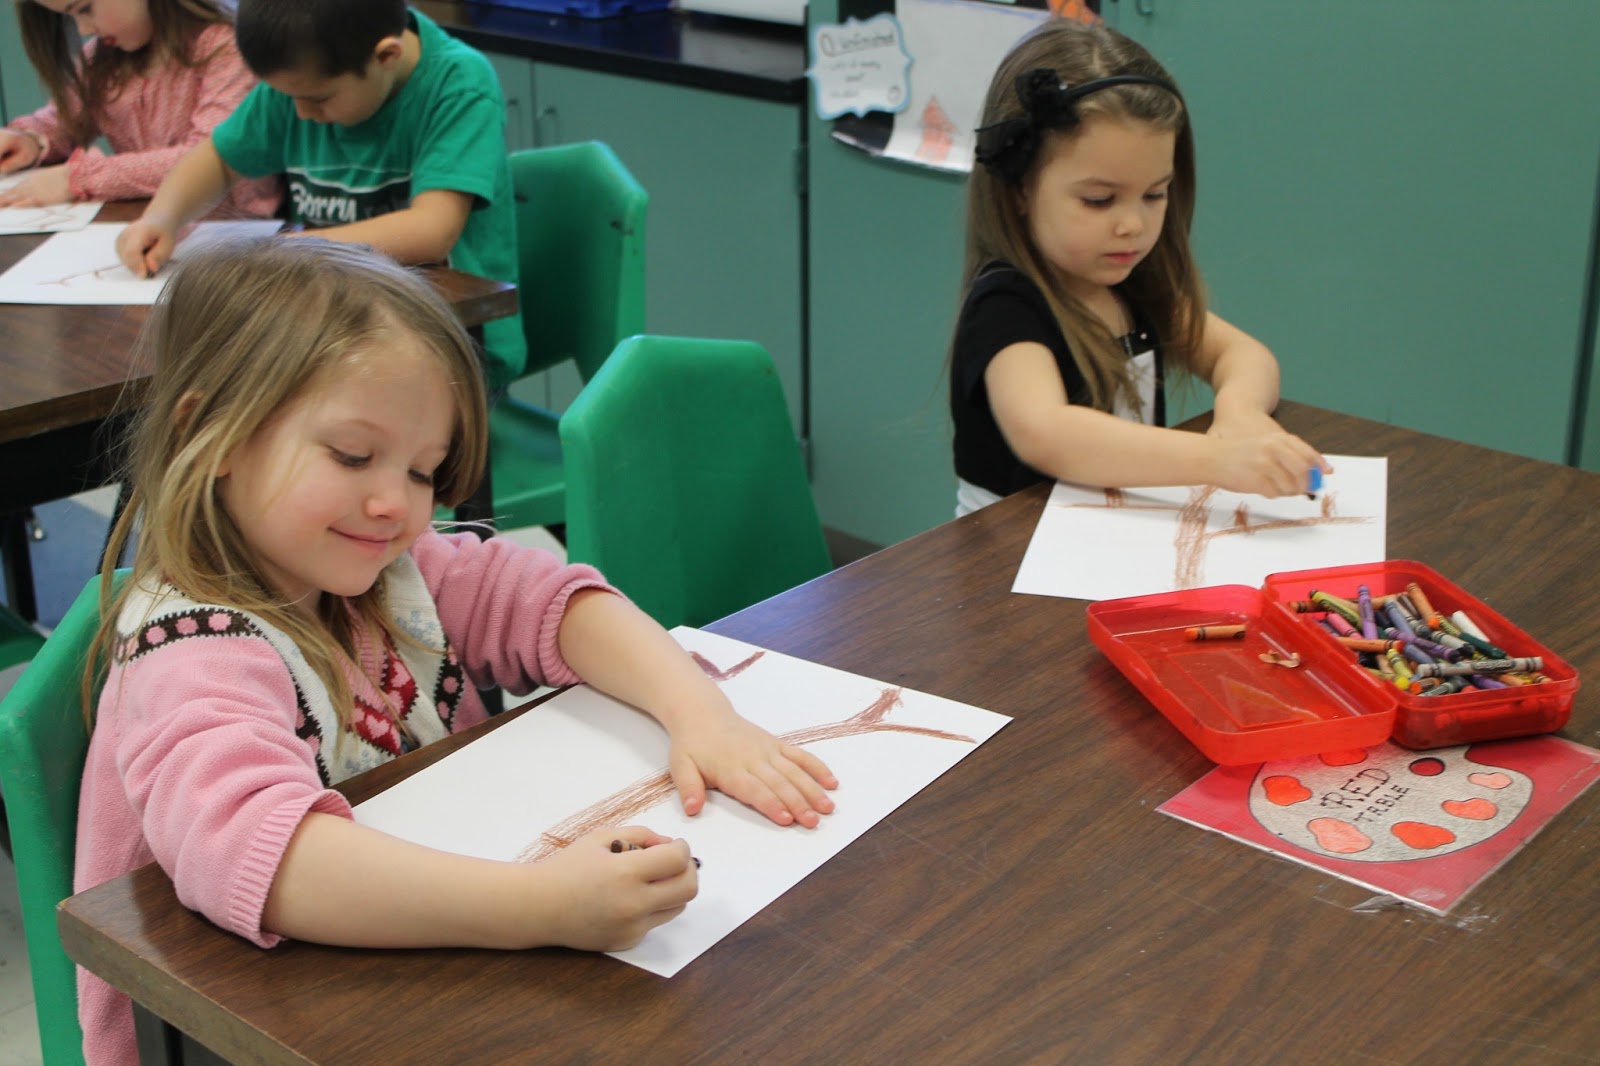
For the second project, we'll spend two days to complete it.  We'll review how to draw a cherry blossom branch, and then do so with brown crayon.  I'll introduce watercolor paint to the Kinders, which they haven't used yet, and we'll paint over the top of our branch to do a wax resist.  The next class, we'll talk about texture and add the flowers using the crumpled tissue paper.  This will give a nice segue into a texture unit for Kindergarten.

Last year I did this cherry blossom project with my 1st graders.  This is what we made:


The rest of these projects are from my first year of teaching.  Looking at them now, I feel like they are very undeveloped for projects, but I'll share them anyways!  It's not that I think they are bad, I just see very boring compositions now, and I didn't use the projects to their full potential.  When it's time to recycle these projects, they will definitely be getting a makeover!

The following pictures are from a "heart blossom" project I did with 1st grade.  I did this as a 1-day filler project right around Valentine's day while we were in between projects.  We talked about cherry blossom trees, but then I did let them make heart blossoms to glue on.  We also talked about symmetry (folding small pieces of paper in half to cut out half a heart).  These were ink blown trees using India ink and straws.


For the final cherry blossom project I have to share, I must say that I'm almost embarrassed to share!  Am I being too hard on myself?  Maybe...but I can definitely say I have grown from these! This project was done with Kindergarten, at the same time as the heart blossom project.  I did not teach them the "y" tree technique...I just simply asked them to paint a tree without any demonstration.  Looking back at it now, back then I felt the projects that were the best were the ones that were symmetrical, and for lack of a better word, "tree-like".  But now, I think the better ones were the asymmetrical ones that look more like branches instead of trees!