Showing posts with label color theory. Show all posts

Wednesday, February 4, 2015

Studio Art: Painting Unit, Tempera

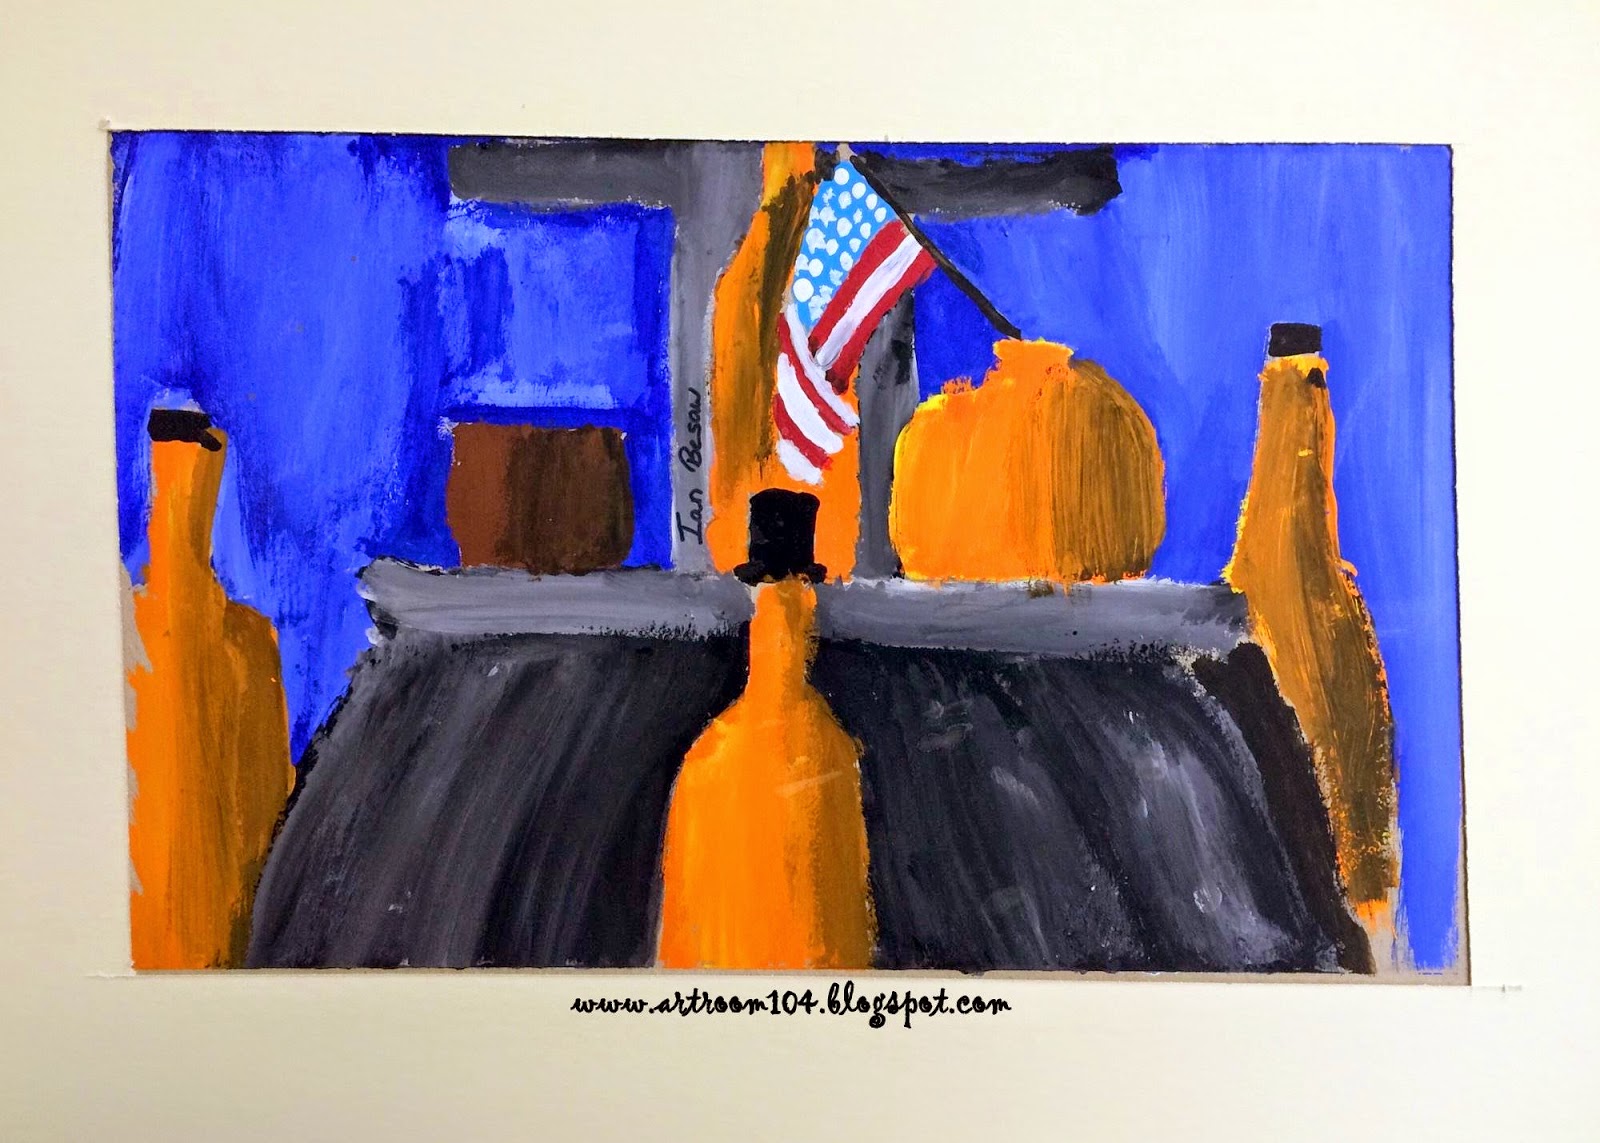
For our second painting in my Studio Art painting unit, students made their own egg-yolk tempera to do still life paintings.  I thought for sure that I would get complains about the subject matter, but they loved it!  Making their own paint really helped them to understand what a pigment, binder, and solvent is tool  We made our paint the same way I have my 6th graders do it for the cave art project.
Every day at the end of the day, i would put the paint in the refrigerator next door to make sure it didn't start smelling rancid from the eggs.

This project took us about a total of two weeks from start to finish.  Students chose an area of the still life below to draw.  It was set up in the middle of my room for the entire time...in that time period, I lost a fake banana and had two bottles break during clean up, of all times. :(

As we started the process of painting, we painted the background first, using cool colors because they recede.  Next, I had them choose a neutral color for the ground/cloth, and lastly they were encouraged to use warm colors for the bottles. 

This student did an AMAZING job, and it breaks my heart because she has such low self-esteem about it.  :(  It was a struggle to get her to do this all on her own, but she did it!  She totally has her own painting style, but I don't think she feels comfortable enough to embrace it yet.


This student has struggled all year but he did what I would consider a great job, based on his past projects!  I'm so proud of some of these guys...they really got into the painting!  This student is so psyched about our next project...I can't wait to see what he does then!


Again, I had students mat their own artworks too.  They are getting so much better at this!  It makes me proud, and them, to have their artwork framed in such a way.  I've decided that I must make it a priority to make sure I have enough mat board for a school year, at least on the high school end.  It's going to make my art show look that much more professional too. :)

What really surprised me about this project, is that the students asked why we didn't do a black and white drawing of the still life first!  Wait, what?  I figured they would get bored drawing and then painting the same thing...but now this idea is on my radar for next year!  I think they saw my projects from high school, which I have hanging above my computer, and liked the idea.


Our current and last project of the painting unit is the cubist superhero paintings in acrylic.  We have just started those so expect a post about them in a week or two. :)

Friday, February 7, 2014

5th Grade: 3-D Color Wheel Tutorial

When I left on my maternity leave, my 5th graders were still working on their complementary colored checker boards.  Unfortunately, they took them home while I was gone so I don't have any pictures of what their finished products looked like.  (If you didn't see last year's checkerboards, here's the link to those posts...)  Currently, my 5th graders are creating 3-D color wheels.  If you've been following me for a while, hopefully you remember that I decided my curriculum for 5th grade would concentrate entirely on color theory.  This is a project I did my first two years of teaching with 6th grade (before I started blogging) but did not do last year.  I thought it would be fun to bring it back and move it down to 5th grade where it seemed more appropriate to my curriculum.

Now, this is not something that I came up with on my own.  I saw it in an art magazine publication but for the life of me, cannot remember which one.  I tried to do a search to find it before I blogged this post, but could not.  What I will share, however, is a link to a rubric for this project that I did find in my search, as it is what I am using to model my rubric after for this project.  So, if anyone happens to know or find the publication where this comes from, please let me know so I can link back to it!  I want to say it was from an older publication of Arts & Activities, but I'm not sure...

Ok, here goes.  For this project, each student needs four paper plates.  First, you need to fold all four paper plates in sixths.  

Next I have the students label each plate what colors they should be painted and where.  Folding and labeling the plates usually takes one whole class period.
Front                  Back
Blue    ~     Blue green / Blue Violet
Red Violet     ~      Violet / Red
Orange     ~     Red orange / Yellow orange
Yellow green     ~     Yellow / Green

Next we take two class periods to paint these.  At this point, I still have not found a clean, tidy way to do this, nor a way that prevents wasting paint.  I've done this two ways...in the past, we have painted one side of each plate on one day, and painted the other side the second day.  This time around, I tried to waste paint less by having the students start with one color, say blue.  Then we mixed green, and finally blue green all in the same paint cup.  We cleaned out the cups and brushes and started over with yellow, than yellow-orange, then orange, then red-orange, and so on and so forth.  The only problem with this method is that you end up having to paint directly on the back side of the wet plates, sometimes causing you to get other colors on your plates.  I'm thinking next time, I may set up stations at each table for students to independently move around to.  (The only problem I would foresee with this is students not paying attention to their labeling and painting the plates wrong, but I suppose that would end up being part of their grade...being able to pay attention and such...)

Also, with regards to mixing paint, I tried to let the students mix their own paint, but TONS OF it was wasted because they wouldn't listen properly when we discussed using more yellow and red to make orange, more yellow than blue to make green, etc. etc.  I found that it was better to review how to mix each color with them and then I would squirt the paint into their cups for them to mix at their tables.

The fourth and final class is when we put these together.  First I have the students refold on their fold lines as the paint tends to stiffen the plates back up.  Then I show them how to make their plates into bow ties by pinching them together.  We clip them with paper clips.  In the past, I have used bobby pins, however that can get expensive, so this year we are just using metal paperclips.

Next comes the part where students are on their own.  They must figure out how to get their plates together in the correct color order.

Finally, before clipping the last plate on, I have students tie a big know on the end of a string and stick it in the middle of the plates before attaching the last one.  Now, I have something to hang them from.

And here is the finished product!  I can't wait to share the finished ones with you...I always hang them in my corner display case by my room and they always look so awesome and colorful. I never want to take them down!

I have one class who has all of their plates painted, and another who has one more painting day.  Hopefully I'll be sharing their end products in the next week or so.


Wednesday, May 29, 2013

5th Grade Analogous Animals

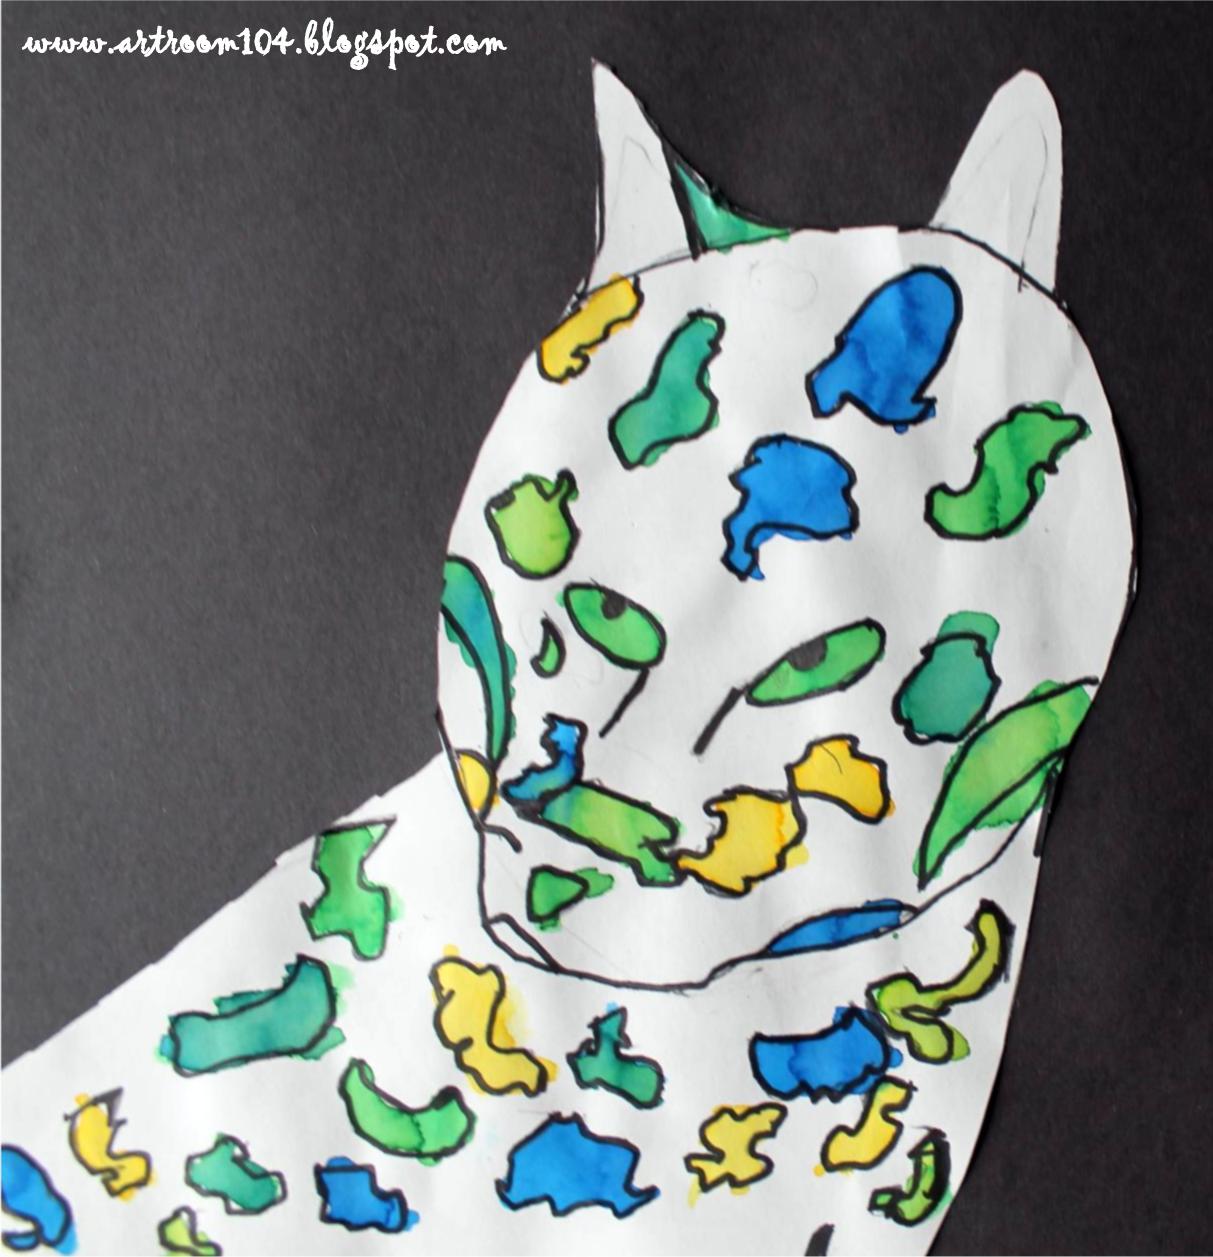
In our last project before our post-assessment, my 5th graders did this quick analogous animals project, of which I've seen variations of it on Pinterest.  Since I was running out of time to cover the rest of the color schemes for color theory, I tried to make this project as quick as possible.  I googled "how to draw..." animals and created a hand out to help students draw their animals.  I didn't want EVERYONE to do the same animal, but I knew it would take a long time and I would lose interest if I did a drawing demonstration for each animal.

I did a quick demonstration on the board using the handout and then I sent the kids to town.  On the first day, we drew the animals and if they were approved, they traced with Sharpie marker.  On the second day, I demonstrated how to paint the animals.  Since we don't have tertiary colored watercolor paint, they had to mix colors on their paper.

On the last day, I decided to have the kids cut out their animals and glue them to black construction paper.  Originally I wasn't going to do this step, but a lot of them had a hard time controlling how much liquid watercolor paint was on their brush, so there were a lot of drips on their papers. To combat that, we cut them out and glued them.


Tuesday, April 23, 2013

5th Grade Cookie Color Theory

Every year since I started teaching, my cookie color theory lesson has been a staple in 5th grade...something the students always look forward to doing.  Usually, however, I do this lesson in the beginning of the year as an attention grabber.  Due to the "excitable" nature of this year's 5th graders, I decided to hold off on this lesson until the students were able to better control themselves, and I think it was for the better!


In the past when I've done this, it took a lot of yelling to get students to calm down enough to listen and review what the primary, secondary and tertiary colors were.  However, since I held off until the end of the school year, the students already knew what these colors were, so I gave them my "if you eat or lick any frosting off your fingers during this process, you will not finish the project" speech and let them go to town in groups.  I didn't have to interject about how to mix colors in any groups because if a student STILL didn't know how to mix tertiary colors, their group mates helped them out!

 Before the students come to class, I have a tray for each table ready to go.  There are there empty Dixie cups (for color mixing) and three Dixie cups filled with the primary colors in vanilla frosting.  I count out and pre-bag 13 vanilla wafers (bought in bulk from BJs Wholesale).  I give them a handful of Popsicle sticks for color mixing, and these 12"x 12" laminated color wheel place mats I made three years ago.  The place mats clean up real nicely with a squirt of hand sanitizer and a paper towel!


At the end of class, students have to clean their table up, wash off the tray and throw out any remaining frosting.  Then they get to split up the cookies.  Depending on teacher preference, they are allowed to eat their cookies after I have photographed their group with their color wheel or they take the cookies back to their room on a paper plate to eat during snack time.

Students each received a grade out of 15 points for this project based on the following:
          Is the color wheel ordered appropriately?
          Did you work well with your group members?
          Did you follow directions and have good self-control with the frosting and cookies?

I definitely think that next year I will not being doing this project at the beginning of the year.  It will be an end of the year review given to students based on good behavior!


Sunday, October 14, 2012

Rubrics Galore!

Well, on this dreary, rainy day in the North Country, I've sat down to finish my plans for this week.  In doing so, I created some rubrics for my up and coming projects that I figured I would share with you!  I'm sure that in time, over the years that I use these, they will be altered to my needs, but here is what I will be giving the students to see how I will be grading them.

First of all, I have altered my generic rubrics for K-2 since I last shared it and I think I have finalized it.  I have been using it to grade my projects such as the Primary Lines, Secondary Shapes, Rainbow Kandinsky and the Roy G. Biv collages and it seems to be working well!

This next rubric is one I created during the week for my current 6th grade project, Day of the Dead skeleton masks.  
I am going to have my 6th graders fill this rubric out, questions and all, on their own once finished with their project and then I will use the same rubric to give my grade.  Since this is the first time I am using these rubrics to grade them, I want them to be able to see if we are on the same page with their artwork. This will also give them a way to write me a reflection after I hand these back with their grades.


Next year, I think I will try the tinfoil trick to make these more skull shaped!  They still look pretty good...these guys will get one more day. I especially love the green one with the yellow cross...the student gave him a gold tooth!

This next rubric is for the next project my 3rd graders will be doing.  We just finished up with our birch trees, and now we are going to move onto talking about texture in drawings and in sculpture.  Last class, I gave them the drawing assignment to draw a house with texture, adding in that it could be a haunted house if they'd like, since it's getting close to Halloween.  I do have a student in 3rd grade who is  Jahovah's Witness, so I can't really do specific holiday projects, but I like to try and give students projects that they can make into holiday projects should they decide to around the holidays.  Anyways, I allowed the students to use texture rubbing plates for their drawing and next class we will finish those and then talk about the different textures used. 

Then, we will look at real pictures of houses and I will introduce the final project.  I did this project last year and it was a big hit.  We will be making stuffed paper bag houses, again with the option of creating a haunted house.  I won't let students use the rubbing plates for the sculpture part, however.  Instead, we will talk about creating the illusion of texture by using lines and shapes (bricks, siding, cobblestone, etc.) and we will talk about creating actual texture by using different materials (cotton, pom poms, pipe cleaners, smooth paper versus crumpled paper, etc.).  Here is the rubric I will be presenting to them for the house sculpture project:

The last rubric I created this weekend is for my 5th grader's color wheel project.  We are currently in the process of drawing, cutting out and tracing 12 designs to paint the primary, secondary and tertiary colors.  This year, I will also be having the kids add a flare to their design by painting each color's complement as well.

Student will also have to answer five questions about the colors they learned, as part of their grade.