Elementary project posts are going to be far and fewer in between this year. Since I only see them once a cycle, it's just going to take that much longer for us to finish quality projects. Here's an overview of what I am currently doing with the elementary grades. Some projects are repeats of last year, and some are brand new projects that I am starting off with for the first time.
 Kindergarten
The kindergartners just finished up their
first listening and learning strand of nursery rhymes. I decided to forgo my usually beginning projects of the
primary and
secondary colors to start with shapes. To go along with their nursery rhyme unit, we are doing "Hey Diddle Diddle" drawings. So far we have worked one day on this. I gave students my
shape practice sheet and then together, we drew a cow jumping over the moon, and the dish running away with the spoon (made sure we got two rhyming components in the drawing...). Next class, I'll have them trace all their pencil lines with Sharpie marker, we'll talk about craftsmanship when it comes to coloring with crayons, and they will finish up coloring their projects for display.
1st Grade
In 1st grade, we are starting out with the
pumpkin unit, just slightly altered to try and fit it into 2 1/2 class periods instead of 3-4. We've so far worked one class on this. On the first day, everyone got a piece of Manila drawing paper and I asked them to draw a pumpkin patch in 15 minutes. We talked about how they drew their pumpkins vs. how a pumpkin really looks (most drew them perfect circles and didn't attempt to show the texture). Then, I demonstrated on the board how to use flattened circles to draw pumpkins. Students then turned their papers over and spent the rest of class drawing more realistic pumpkin patches. Next class, I'll show them how to use more than one horizon line (and we'll talk about size) to create depth. They'll draw their pumpkin patches and start blending on them with oil pastels.
2nd Grade

In second grade, the students have also just finished up their
first listening and learning strand, which was fairy tales and tall tales. I started this art project with them when they were reading Beauty and the Beast, so their project is designing Beast's castle. We are VERY lucky to have a real Louis Tiffany stained glass window in our school. It was bought and donated to the school by one of the original founders of the old school building (in memory of his mother). I took this as an opportunity to talk about stained glass windows and to educate the students about how lucky they should feel to have a REAL artwork by a FAMOUS artist in their school! So, for this project, students have to design a radial stained glass window (we are using transparency paper and Sharpies). I created a simple castle pattern that students traced and then sponge painted brick patterns on (similar to how we did it for our
3rd grade castles last year). So far, we have worked two periods on this project. For the last class, students will cut a hold in the top of their castle to add their colored stained glass window, and they will get to cut out a draw bridge door and roofs for their castle towers out of construction paper.
3rd Grade
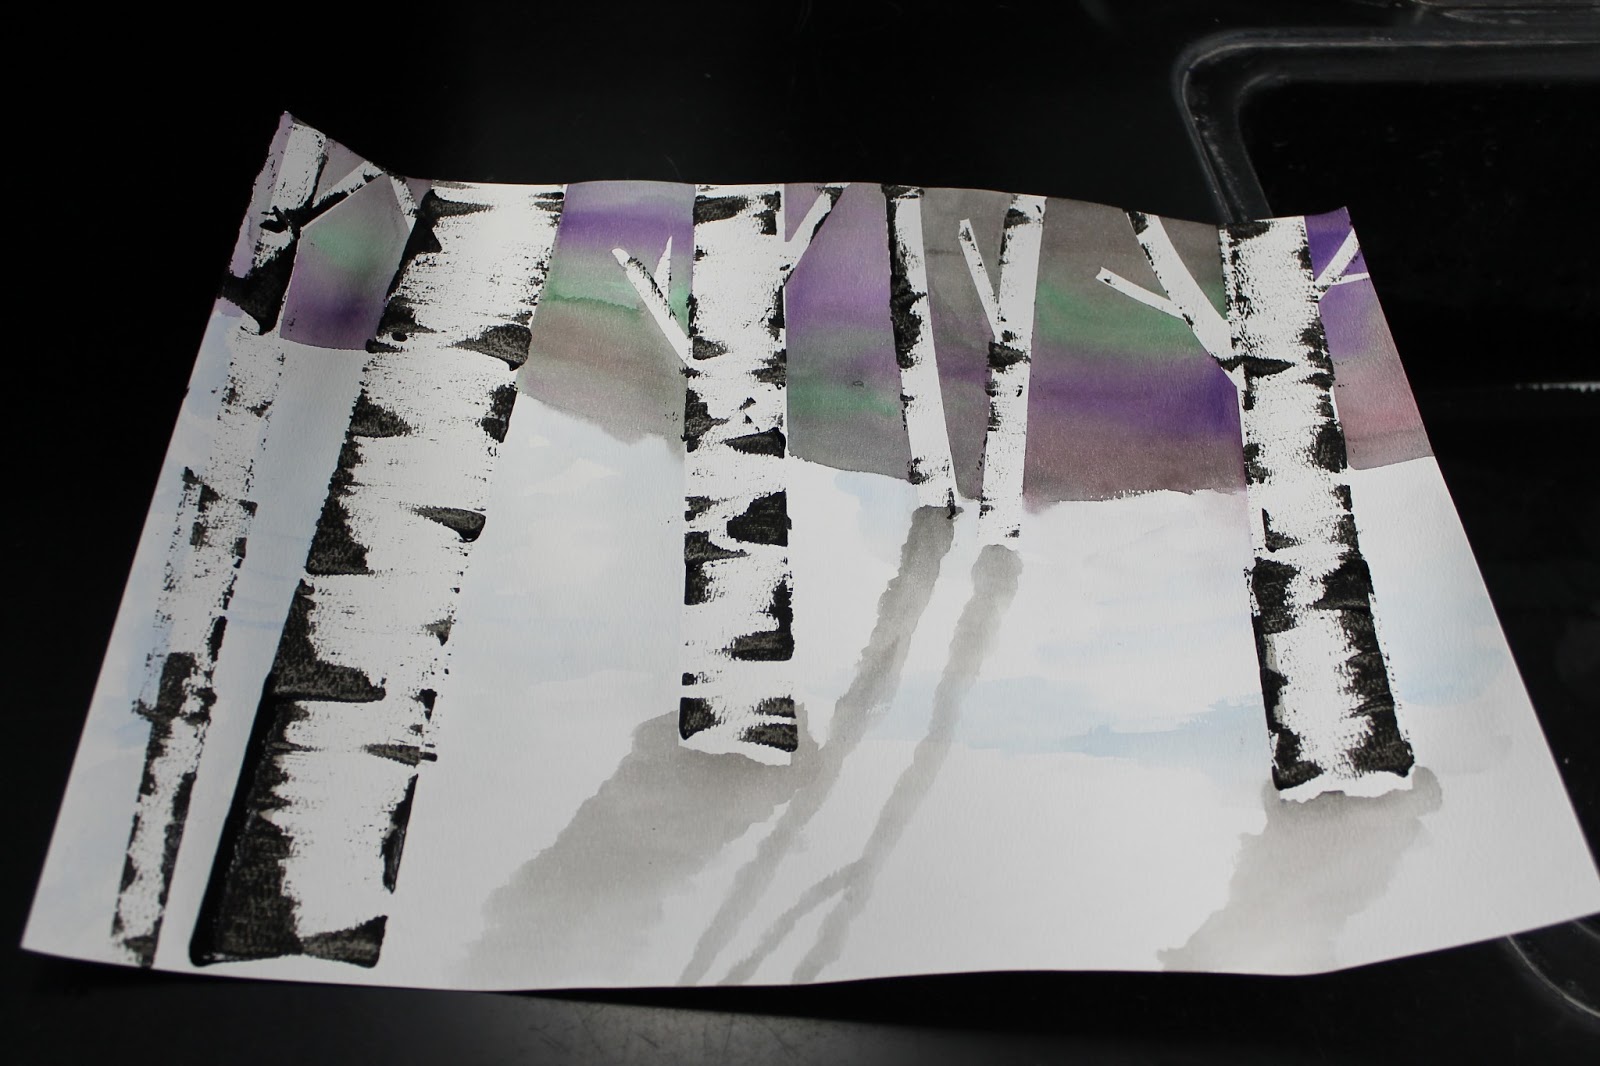
For 3rd grade, I'm sticking with an oldie. We're doing our
fall birch trees. Only change is that this year I bought watercolor pencils, so we will be using those instead of crayons. So far, we have worked one class on these and we have taped off our birch trees.
4th Grade
4th grade is also doing a repeat. We're starting off with value and will be doing
fall value drawings and then doing the linocut leaf prints around the border.
5th Grade
Another repeater. I'm skipping the
painted color wheels this year (because those took forever last year). We've spent one class doing the
plate color wheel so they have a color wheel to reference and take notes of the different color families on the back, and now we are going to jump right into the complementary colored checkerboards. Next class, we'll roll out our slab boards. This year, instead of glazing/underglazing them, I'm going to have them paint the boards with acrylic paint. Less waste of the more expensive materials. They'll also be making their checker pieces out of
model magic instead of kiln fire clay. Again, less waste of the more expensive materials.
6th Grade

Finally, 6th grade will be starting off with cave art. They are currently doing geography in social studies, but afterwards they will be doing the prehistoric world. My unit should give them base knowledge for that (great way to connect curriculum and get common core points!). Last year we didn't do a cave art project. This year, we've spent 1 1/2 class periods on it. For the first 1/2 period, I gave my power point and we talked about cave art and took the virtual tour through Lascaux Cave. For the first whole period, we rolled out a huge piece of brown butcher paper, wrinkled it to make it look like a rock, and then used chalk pastels to "age" it. Next class, we are going to mix our own egg tempera, so they can get a feeling of what it's like to make their own paint. I will be hanging their rock on my display strips and we'll go down and actually paint on the rock wall, just like a real cave artist.
Special Education Classes
I have two separate special education classes this year; a K-3 class and a 3-6 class. The K-3 class did complete their first project all in one class period, and I must say that I was extremely impressed with the progress (and maturity) they found over summer! In their classroom, they made leaves for a bulletin board, so I continued with that theme. I asked them to draw a fall tree with good details (similar to what I have 4th grade do). I was SO HAPPY to see them using the "y" and "v" technique to draw realistic trees! Then, I pulled out my rubber leaves and I had them make a leaf print border around their drawings.

The 3-6 class is starting off with learning about the history of NYS in their classroom, so on a whim, I decided to do a Statue of Liberty project with them. A majority of the students in the class have been there for a year or two, and they learned about the Statue of Liberty before, so this was a bit of a review. We talked about the statue and then I taught them a little bit about Keith Haring. We ended on Haring's Statue of Liberty artwork. I am having these students do a Keith Haring-like rendition of the statue on Styrofoam to my Styrofoam prints. This should only take one


 Kindergarten

 In second grade, the students have also just finished up their first listening and learning strand, which was fairy tales and tall tales. I started this art project with them when they were reading Beauty and the Beast, so their project is designing Beast's castle. We are VERY lucky to have a real Louis Tiffany stained glass window in our school. It was bought and donated to the school by one of the original founders of the old school building (in memory of his mother). I took this as an opportunity to talk about stained glass windows and to educate the students about how lucky they should feel to have a REAL artwork by a FAMOUS artist in their school! So, for this project, students have to design a radial stained glass window (we are using transparency paper and Sharpies). I created a simple castle pattern that students traced and then sponge painted brick patterns on (similar to how we did it for our 3rd grade castles last year). So far, we have worked two periods on this project. For the last class, students will cut a hold in the top of their castle to add their colored stained glass window, and they will get to cut out a draw bridge door and roofs for their castle towers out of construction paper.

 Finally, 6th grade will be starting off with cave art. They are currently doing geography in social studies, but afterwards they will be doing the prehistoric world. My unit should give them base knowledge for that (great way to connect curriculum and get common core points!). Last year we didn't do a cave art project. This year, we've spent 1 1/2 class periods on it. For the first 1/2 period, I gave my power point and we talked about cave art and took the virtual tour through Lascaux Cave. For the first whole period, we rolled out a huge piece of brown butcher paper, wrinkled it to make it look like a rock, and then used chalk pastels to "age" it. Next class, we are going to mix our own egg tempera, so they can get a feeling of what it's like to make their own paint. I will be hanging their rock on my display strips and we'll go down and actually paint on the rock wall, just like a real cave artist.


 The 3-6 class is starting off with learning about the history of NYS in their classroom, so on a whim, I decided to do a Statue of Liberty project with them. A majority of the students in the class have been there for a year or two, and they learned about the Statue of Liberty before, so this was a bit of a review. We talked about the statue and then I taught them a little bit about Keith Haring. We ended on Haring's Statue of Liberty artwork. I am having these students do a Keith Haring-like rendition of the statue on Styrofoam to my Styrofoam prints. This should only take one