Showing posts with label horizon line. Show all posts

Wednesday, August 13, 2014

Kindergarten: Rainy Day Self-Portraits

Well, it's a dreary day of rain in Northern New York today, accompanied by Day 2 of DDI Camp.  That's Data Driven Instruction for those of you who may have not been forced to use it yet!  The concept behind it is understandable, but try to get two art teachers from different schools to meet for the first time and to agree on content to cover in their classes by the 10 week, 20 week and 30 week mark?  Ha, yeah right!

So, since it's a rainy day today, I'll leave you with my kinder's last project of the school year.  In alignment with their NYS Listening & Learning strand of "Seasons and Weather", we did these spring time portraits.  We discussed what the weather is like in spring (lots of rain!), what happens with the trees and flowers (they start to get leaves and bud!), and what a self-portrait is.

I took a different route with the kinder's for this project when demonstrating how to draw their body.  Usually, like with my pattern cow project, I would demonstrate one step at a time and have the kids do the step on their own paper before moving to the next.  This time, I demonstrated how to draw the umbrella and then had them do the umbrella.  Next, I showed them how to draw their entire body, starting with their head, the neck, their shoulders and arms, torso, legs and feet.  Then, I let them go to town!

We put in a horizon line (always important and something I stress!) and added good details for spring time.  This all happened in one class period.  The only thing I didn't allow them to do was color the sky, which is usually against the rules!

On the second day of the project, I gave each student a straw and we went over proper straw etiquette (no spitting at others, if you drop it on the floor get a new one, etc.).  I had the students turn their papers upside down and I then went around to the best "Mona Lisas" and gave them a few drops of blue ink on their paper.  Students blew through the straw to make the ink run and look like rain!  Once they were done with the blue, they received a few drops of turquoise, rinse, repeat and done!


Thursday, October 3, 2013

Kindergarten: Hey Diddle Diddle Shape Cows

Sorry about the lack of posts in a few days...I've been having troubles with my internet at home and there is just no time during the day for me to write a post during school!  We're finally finishing up our first projects on the elementary side, and the first I'm going to share are going to be our "Hey Diddle Diddle Shape Cows".

Let me precede this by saying that I don't usually start out with a project like this for kindergarten...meaning one where we jump right into drawing a big picture together.  I usually start with line and shape and the primary and secondary colors.  I usually incorporate a Mondrian collage at the beginning of the year too.  I like starting with those types of projects because they are easy for the students to be successful on, they are simple projects that I use to help train the students on clean-up procedures, and they tend to be one day projects instead of two day projects.

The reason I decided to start off with the shape cows this year is because of Common Core.  The first listening and learning strand the kindergartners start with is the nursery rhyme strand.  I got the idea for this drawing from the pattern shape cows I did last year with kindergarten so I combined a little bit of that lesson with a little bit of my normal shape lesson.

This project took some students two days to complete, and a few others need about 10 minutes at the beginning of next class to finish theirs.  On the first day, I passed out my shape practice worksheet.  We read the word of each shape (by identifying the first letter and the sound it makes), traced each shape three times and then drew the shape in the empty space on the right.

In the same class, I then passed out large drawing paper and we got to work drawing our cows.  I start by drawing a circle for the nose, then we had the head, triangle ears and horns, etc.  We use a rectangle for the body and legs.  Next comes the moon.  As I'm drawing this step-by-step on the board, the students have to draw each step on their own paper.  We talk about where I'm placing the cow and why (up at the top because it's jumping over the moon, which is in the sky), as well as how big I am drawing everything in comparison to the paper itself.  After the cow and moon were drawn, we did the dish and the spoon (circles and rectangles).  The last drawing step was their first introduction to the horizon line and how to use it.

On the second day, we reviewed the horizon line and then talked about having good details.  I asked them, "What else can you add to your drawing to make it interesting to look at?"  I received responses like the cat and the fiddle, a house, the sky, the grass, a tree...  Students got to work drawing some details.  Then we traced everything with Sharpie marker (which for some reason is a hard concept for some kinders to understand!) and then colored.  This is also where I introduced my craftsmanship rubric and we talked about scribble coloring versus nice coloring.

Here are some of the completed drawings! 


I must say that I was a bit surprised at the number of kinders in this group that had good control over their pencil and a little more advanced drawing skills than I expected!  A majority of the cows actually look like cows!  As I look these over and grade them, I'm actually almost thinking that I could use this project as a pre-assessment for SLO's instead of my normal cutting and gluing rubric.  I could assess the use of shapes, being able to draw shapes, and coloring craftsmanship very easily with this project.  All of these could be assessed at the end of the year with a similar drawing project and would make it like less of a test...something I will be keeping in mind on the back burner!

Something else I found out about the way I taught this (and teach other projects using the craftsmanship rubric) is that is connects with what the kinder teachers work on with coloring in class.  As I was showing their teacher these drawings, she mentioned that they do "3 start coloring" in class, where the (1) entire paper should be colored, (2) they must use neat coloring and (3) they need to try and use the true colors for objects.

Sunday, December 9, 2012

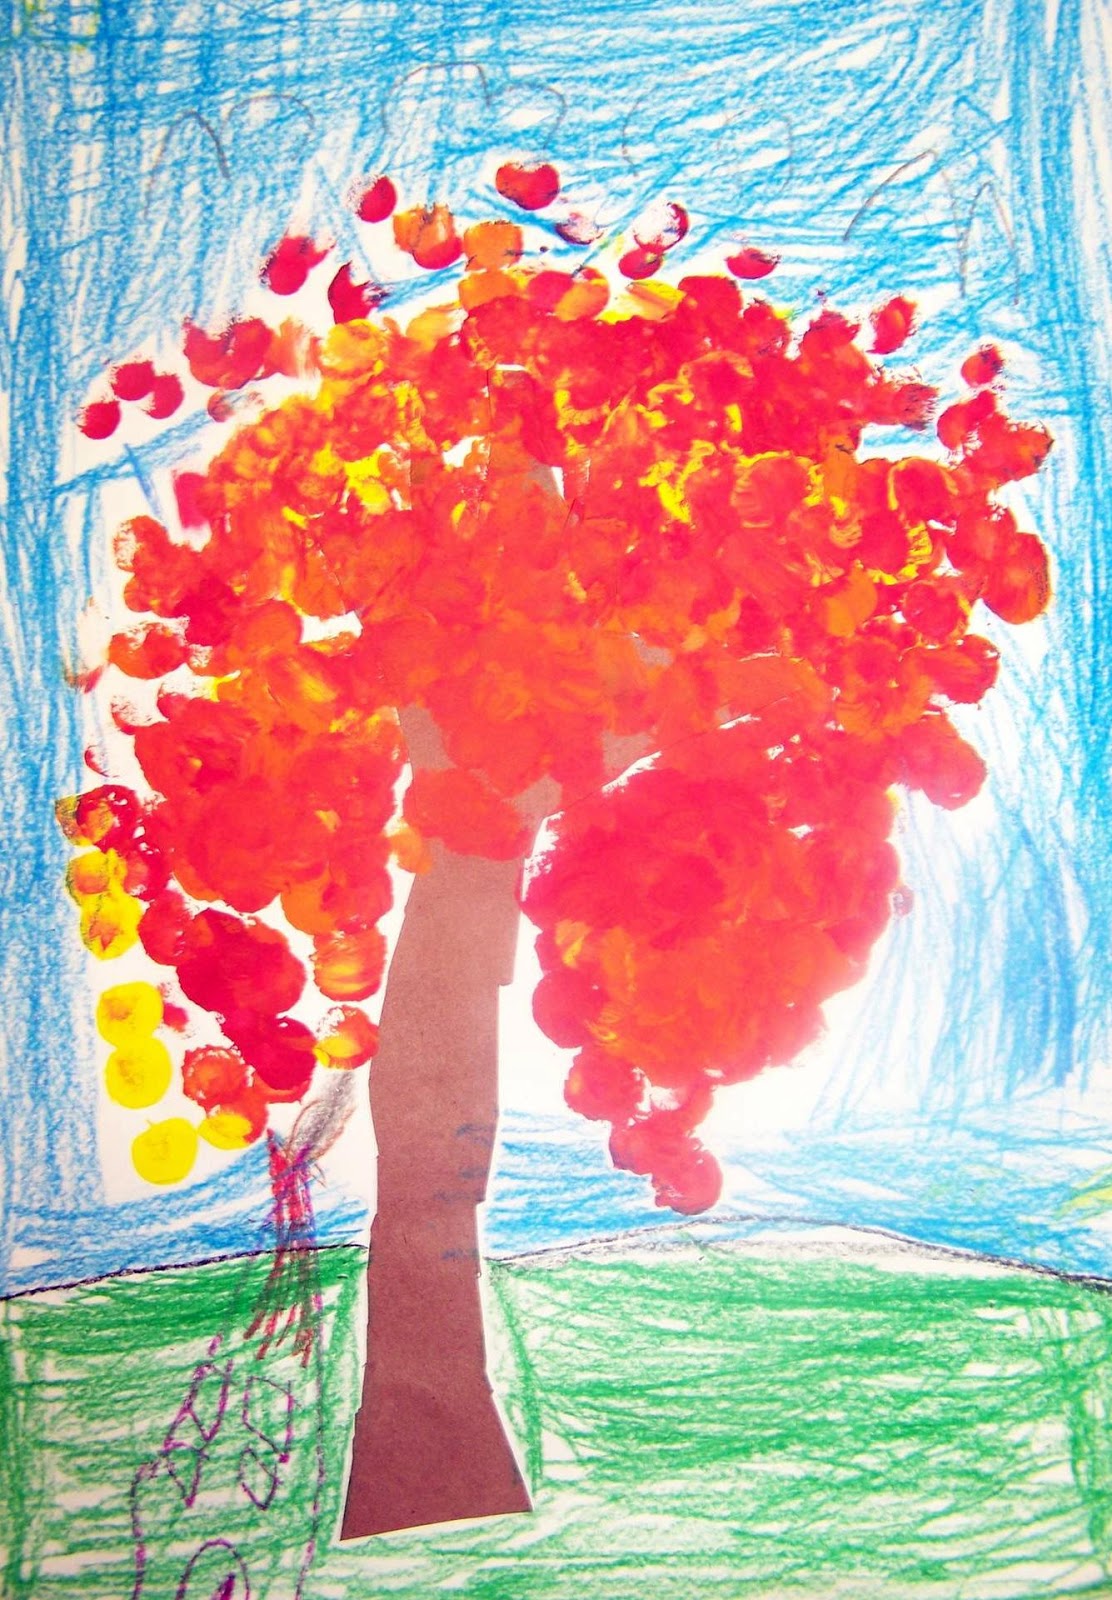
Forgot to Post This!: Kindergarten Fall Trees

I can't believe I forgot to post these!  They turned out awesome!  We did this project back in October/beginning of November.  This was a 2-day project.

Day 1: Students traced their arm and hand, cut it out, and glued it to paper.  We looked out the window and observed the changing trees.  I gave students foam dauber brushes to add the leaves to the trees.

Day 2: On the second day, we looked over the craftsmanship rubric and discussed what details could be drawn with our trees.  We also reviewed that the sky needs to be colored all the way down to the ground, and the ground all the way to the horizon line.