Showing posts with label wire sculpture. Show all posts

Saturday, February 8, 2014

Art 7: Sculpture Unit: Wire Gesture Sculptures

My next unit for my Art 7 classes is a sculpture unit.  In trying to keep the whining at bay, I tried to come up with simple projects that anyone could excel at or go above and beyond if they chose to do so.  I have two projects up my sleeve and one group research project planned for this unit.

The first portion of this unit was to create gesture sculptures out of wire.  After taking notes about the different sculpting techniques (carving, assembling, modeling, and casting), I had students practice gesture drawings using my art mannequins.  I had students work in groups of 3 with one mannequin, positioning it into a posture with movement.  Students then had to do one final drawing in their sketchbook of a figure doing something that shows movement.  Students were then told to bring in a base for homework to put their sculpture on.

The sculpture part itself took two days.  I gave each student a long piece of aluminum wire, probably about 10 feet of wire, and told them they had to create a figure with that piece without cutting it.  A few really struggled in the beginning, but I felt this was simple enough that they should be able to problem-solve how to do this.  In the end, even one student who fought me about wanting to cut the wire managed to complete his sculpture and was extremely proud of himself. 

After the students created their sculpture, they had to attach it to their base.  Many painted their base to go along with their sculptures, which earned them more points on the creativity aspect of the rubric.
This one is one of my favorites!  I think the pose and lean in the figure really makes it feel like its running!

Another one of my favorites...this person was probably the most creative with their base!


This one is supposed to be a diver...just wish the person would have painted the base to look like a pool!


Love the headphones and arm bands on this runner!


This sculpture was the most creative in pose and in what it was doing...love it!

Again, another one of my favorites!  Very creative with the pose!

These two are serving a volleyball...

Absolutely love the hair on this one!
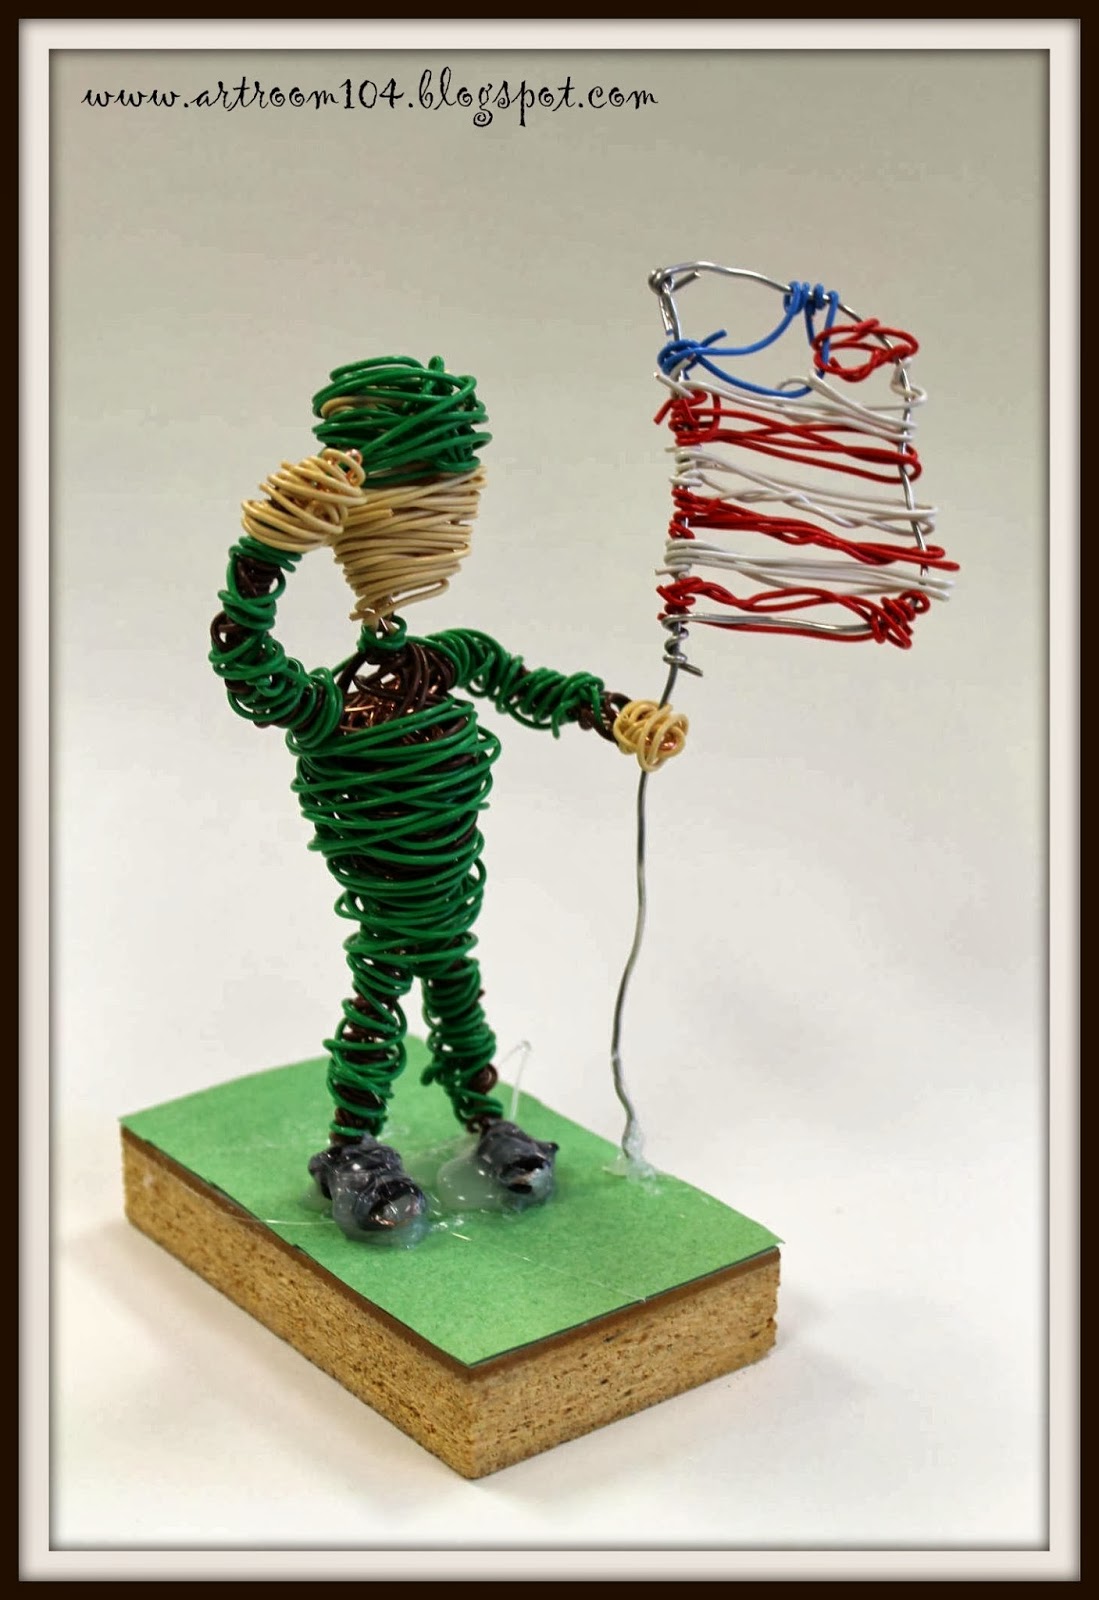
This one doesn't show very much movement...but I had to include it because it was very well built.  This was the student who wanted to cut the wire apart to build it.  We had a rough day the first day and he was asked to leave the classroom because he refused to work, but he came back strong on the second day and created this awesome sculpture!


Thursday, February 6, 2014

Studio Art 3-D Media Unit

Ok, so here is my first catch-up post for my Studio Art class.  When I left for my maternity leave, they were working on their pop art prints, which they matted when I returned.  After that project, which finished off the 2-D art unit, they started a sculpture unit with my substitute.

For the first sculpture project, they learned about George Segal and created these body cast sculptures using saran wrap and packaging tape. I've seen these sculptures before on Pinterest as well as done by one of the sculpture classes when I was in college.  I knew they would probably enjoy making them and that it would be a great group project for them to be involved in.  The unfortunate thing, if you ever want to attempt this project, is that you use A LOT of packaging tape!  Lucky for me, the students were able to finish these projects because I won a gift card from the Classroom Project challenge for my post about spending money for my art room!  Some of the materials I ordered for my high school room included a bulk box of packaging tape so that students could finish these sculptures upon my return.  I think each sculpture, when done correctly and made stiff enough to stand on its own, takes at least five rolls of tape.
The Thinker, placed in the cafeteria.  This one was the most sturdy sculpture and needed no help, aside from the stool it was meant to be propped on, to stand up.

Cheerleader placed outside the high school gym.  She used to stand on her own but her legs were a little weak.  This group went above and beyond using colored masking tape to add embellishments to their sculpture.

This one was a sculpture that held books (made out of paper) and was placed in the library.

This guy drooped a little bit after a while, but he was a basketball player, placed near the high school gym.  He had an orange balloon inside the ball but eventually the air deflated inside of it.

Students were graded based on teamwork, having a full bodied sculpture, the composition, craftsmanship, creativity and installation of the sculpture.  Students received two grades: one from me and one from their group mates as well.  They were required to ask permission to place their sculpture somewhere appropriately in the school.  Unfortunately, some students asked teachers to place them in their classrooms and even though the teachers said yes, they didn't necessarily have room to keep them displayed.  These four sculptures (out of 8 total) were placed in an appropriate public place in the school (which was the goal) to which the sculpture was made for.

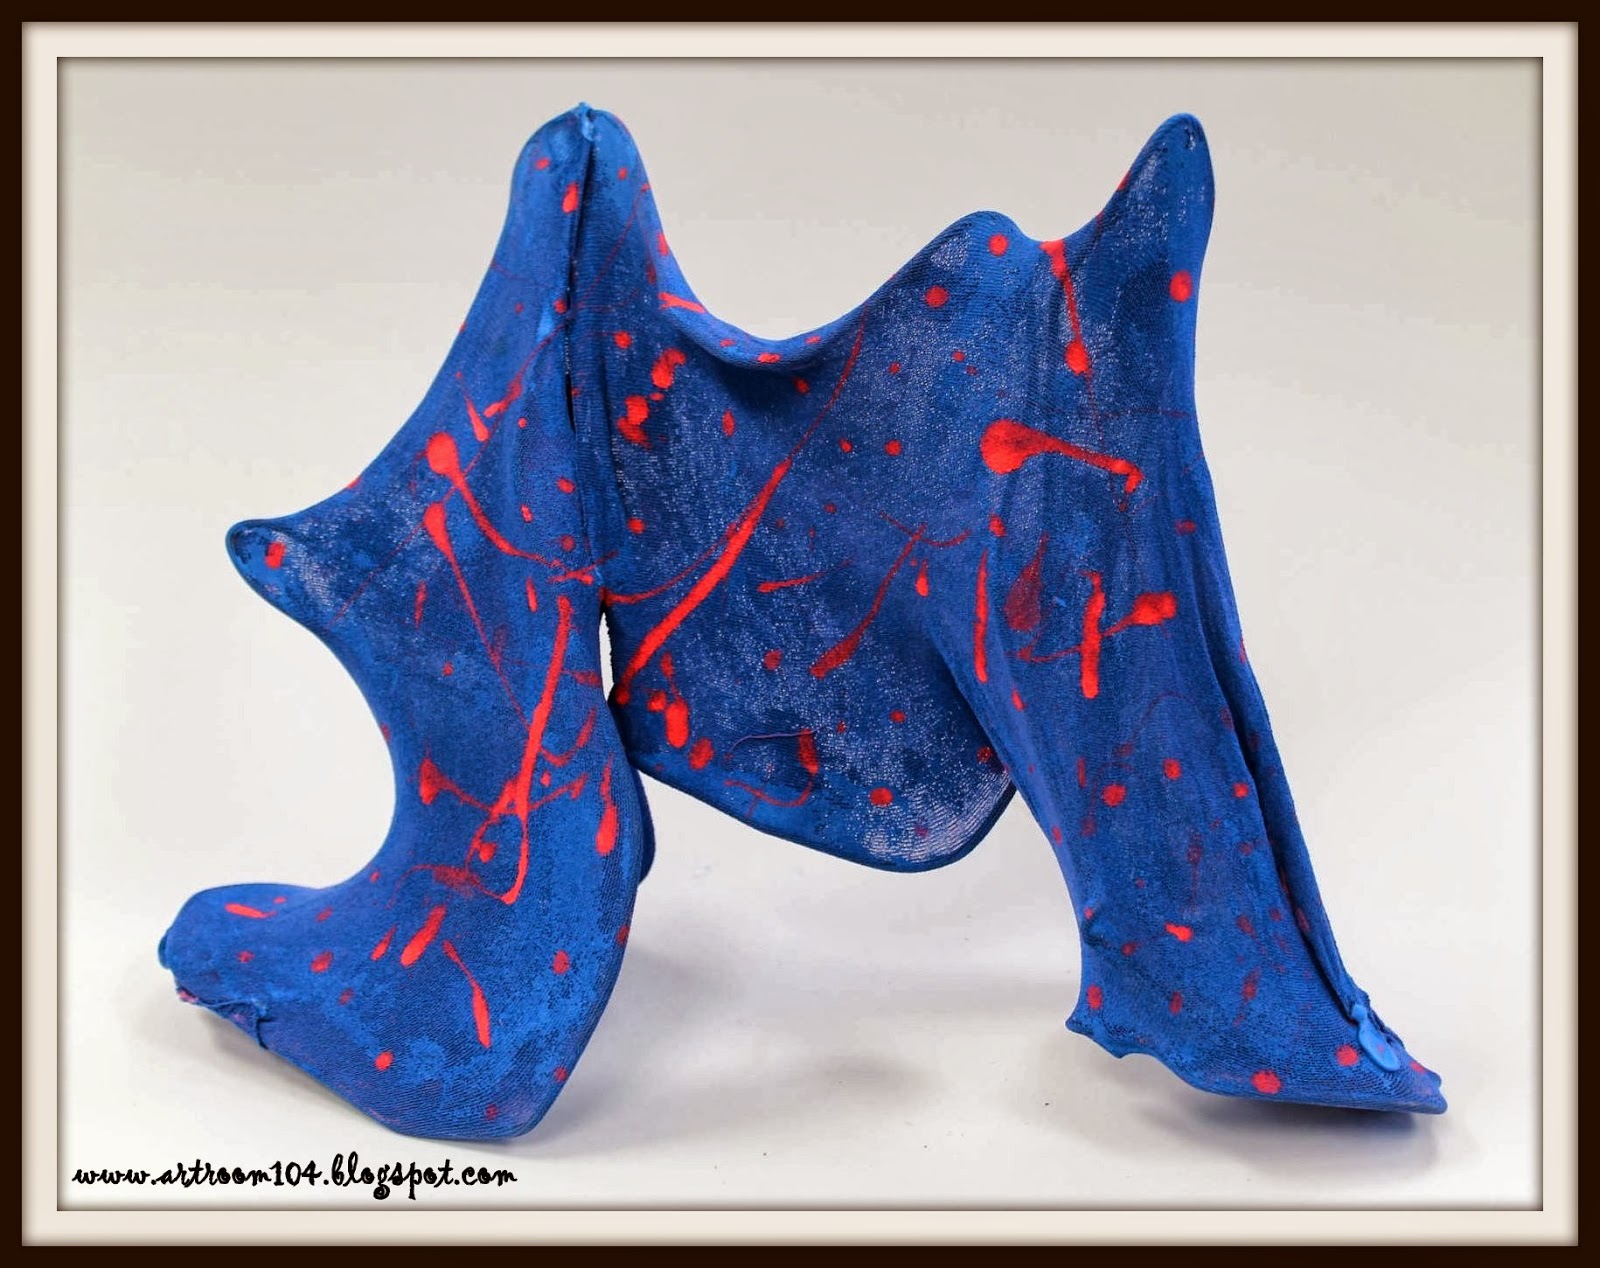
The second project students completed in this unit was an abstract wire sculpture.  My substitute took full control over this project.  In the future, I think I would like to give them a little more information about painting these...I had originally envisioned them to be painted in a surrealism style, but these are still pretty cool looking!  They are wire hangers manipulated and covered with nylons, then painted with tempera paint.  Some students glued theirs to a cardboard base.


Currently my Studio students are onto our 4th unit, which is a ceramics unit.  My next post will share what we have accomplished so far!

Tuesday, December 11, 2012

Wire Dog/Cat Sculptures

Here are some of our finished dog and cat hanger sculptures!  This batch is going to the humane society to "liven" things up a bit!  I plan to send the photo of all the students with their sculptures to the local newspapers...maybe people will go to check out their artwork and end up adopting a pet!


Friday, December 7, 2012

Wire Dog/Cat Sculpture Tutorial

Today I had one of those rare class periods with my 3rd grade where they were ahead of the other class, done with their project, and I wasn't sure what to do with them.  Then, I had this bright idea!  Currently, the counselor and I are running a "Random Acts of Kindness" program through December.  We are having a penny war among the Elementary grades to see who can raise the most money (via weight) for the local humane society.  These kids have been so generous, it almost breaks my heart!  I teach in a very low income school district, and every day I see the students who are bringing in bags of change for their bucket and I know they don't have much to begin with!  I'm so proud of those students because they are truly understanding the meaning of kindness...doing something for someone without expecting something in return!  We've been doing the penny war for two weeks now and we have one more week to go!  So far, the 2nd grade was in the lead, but 1st grade caught up and passed them yesterday!


So today, I invited Mrs. Deleel over to make those wire sculptures I learned to make at the NYSATA conference!  The kids LOVED them!  Now, normally I would love to do this project by introducing Alexander Calder, talk about different breeds of dogs and cats, etc. etc., but I figured this would be a nice filler and we could send these sculptures to the humane society to decorate their building with!  So, here goes...

Step 1: Squeeze the hook on the hanger so that it creates a little loop.  This will become the nose.

Step 2: Bend the entire top part of the hanger around so that it is on the inside of the hanger.  Don't just try to bend the loop you made or the twisted part.  You have to actually bend the entire top part inward.  This is probably the most tricky part.

Step 3: Bend the corners of the hanger so that they aren't corners anymore.  This makes it easier to bend the ears into different positions.  If you just bend the ears down/up from the way the hanger is bent, you'll have a really big space between the ears and a very short space between the mouth and ears.
 

Step 4: Shape your head as wanted! I call this one the bull dog! ;)

Step 5: Wind pipe cleaners around the wire, starting with the nose.  You can be really creative at this point...add a long tongue from the bottom (pictures next week after the kids complete this!)...make whiskers...use a pipe cleaners and buttons to make eyes...


Here's Mrs. Deleel's dog!  Despite claiming she lacks in the creativity department, she got pretty creative I think!  A yellow lab with a bow!

At the conference, some teachers were wrapping the entire ear from one side to the other with pipe cleaners to make the pink insides...

I'm definitely going to do this again, but more in depth.  Maybe pair it with Blue Dog...the presenters at the conference did this with 1st graders, but I don't think I could imagine doing this with my 1st graders!  About 1/3 of the kids had a hard enough time bending the hangers.  I think you could definitely do this with younger kids if you had the white or colored wire hangers...the ones that are more pliable and easily bent.