Showing posts with label stamps. Show all posts

Tuesday, April 16, 2013

2nd Grade Printmaking Unit: Introduction to Printmaking

My second graders have just finished up their printmaking unit and I've finally gotten around to photographing, grading and uploading all of their artwork to Artsonia!

To kick off the unit, we did a one day project that involved stamping with Legos (I've seen multiple variations of this on Pinterest...).  I took this opportunity to talk to the students about the Principles of Art.  We've talked about them here and there, one at a time, but I felt like this quick project was a great way to get students to think about the principles all together.  We talked about patterns, having balance (symmetrical and asymmetrical), movement, unity, contrast, rhythm, and emphasis.  Now, a lot of these are a little over some of the 2nd graders heads, but none the less, I think some of them really thought more about their composition.

I showed students these simple visual rubrics I made for the project and we talked about each one.  "Is it interesting to look at?  Why or why not?"

This one would be worth 3 points...

This one would be worth 2 points...

This one would be worth 1 point...

 I posted these on the bulletin board int he front of the classroom and gave the students their instructions.  Keeping in mind the principles of art, they had to create an interesting design using different sized and shaped Legos.  They would only get one color, so that had to use placement of their stamps to create an interesting factor to look at.  I gave each table a small plate of finger paint and a small variety of Legos and let them go to town!

Now, even though we spent about 15 minutes going over what makes a good composition, it seemed as if the combination of using Legos and finger paint made all the other points mute.  The outcome of this project was NOT what I had expected!  I had some students smearing their designs together after they finished with their fingers, some only used one Lego for the entire print, and many tried to make actual, representational pictures instead of non-representational like I asked for.  Next time I think I may have to tweak my instructions a bit!


Tuesday, February 5, 2013

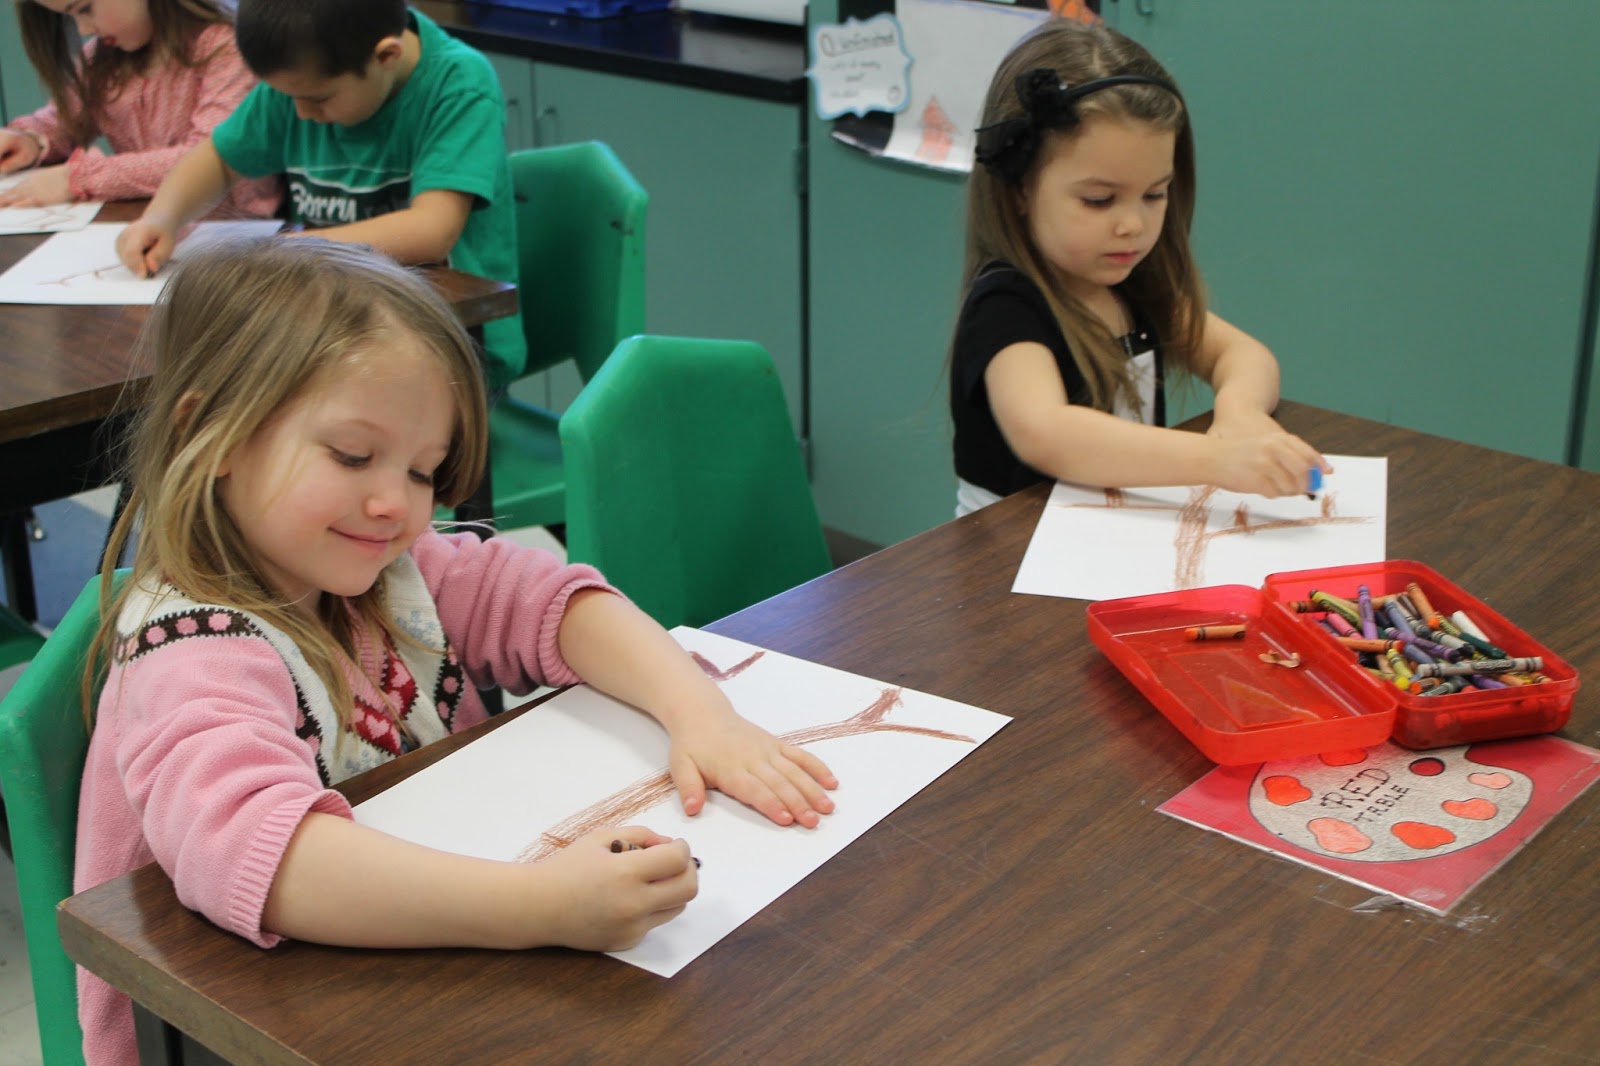
Kindergarten Cherry Blossom Trees

Here's what we've been up to in kindergarten!  We've completed two of the three projects in my cherry blossom unit, and ironically, it aligned up with one of the common core listening strands that kindergarten just started in class!  On the second day of my unit, one of the teachers asked me if I was still doing cherry blossoms with my students...I told her yes and she said that it was perfect timing because they were doing the plant unit.  In one of the resources they are using, there were pictures of cherry blossom trees and the students knew what they were before she even started talking about it!  

On the first day, we looked at my power point and ended on the picture below.  We talked about what the tree trunk looks like versus the branches, and we also looked at the way the branches come together.  To make a long story short, we draw realistic looking trees using the letters "Y" and "V".  

For our intro project to cherry blossom trees, we did the pop bottle stamp cherry blossom trees that I'm sure you've seen on Pinterest.  You can see our results on Artsonia.  I do have to say that I don't think the stamping part turned out as great as the photo on Pinterest...I read somewhere that you shouldn't use a lot of paint to dip the bottles in, but I had to.  Maybe it's because I used water bottles instead of the big 2-liter bottles...


On the second day, we took a practice day, or in other words, my "acquiring and integrating" lesson.  On the smartboard, I had the students walk me through drawing a cherry blossom tree.  Then, we reviewed and referred back to the craftsmanship rubric to talk about backgrounds.  One of the things I've noticed lately is that the kinders tend to color the sky and ground OVER THE TOP of their trees and details.  Then, they try to draw more details in over the top, so I specifically talked about drawing their tree and background details before coloring.  We also talked about why we should color the details before we color the sky and grass.  For some reason, they were very hesitant to draw lots of flowers, but I suppose what they did is probably better than the cloud on top of their trees!


Today, we started the third and final project in the cherry blossom unit.  For this project, I didn't do a review of how to draw the trees...I just had students raise their hands to tell me the steps.  I put my example I had previously drawn on the board and let the kids go to town.  

Then, I pulled out some blue watercolor paint and introduced them to painting with watercolors.  This is the first time this year that I am painting with watercolor with kindergarten, so I feel it was a good way to introduce it to them since we are only using one color.  Next class, we will finish these up by crumpling pink and white tissue paper to make the flowers.


Friday, November 2, 2012

Today's Featured Resources: The SmART Teacher

I recently started using the SmART Teacher website.  If any of you haven't heard of it, it a great resource for teachers to share lesson plans and participate in chats about various subjects in art.  You create a profile and from there you can create discussions, lessons and visuals to share with other teachers.  You can also win prizes for submitting your lessons!

They run two contests a month and each contest usually has 2-4 winners.  All you have to do is create a resource or two based on what the contest criteria is. Winners are chosen based on how in depth and helpful your resource is, as well as how many people on the site "like" or "keep" your resource.

I won one of the contests in October and today I have one of the featured resources! I'm so excited!  I was one of the winners for the printmaking resource project sponsered by Gelli Arts so of course, my prize is some Gelli plates!  I'M SO EXCITED!  I can't wait to get these!  Everyone has been raving about them! Hopefully I'll have them in the next few weeks!

The lesson I won the Gelli Plates for was my Celery Stamp Roses that I did last year with my 12:1:1 class.  I'm sure many of you have seen this before on Pinterest, that's where I saw how to make a celery look like a rose!

My lesson that is featured today is my Fall Leaf Prints.  I did this project my first year of teaching, two years ago.  I'm doing it again this year, but I changed the way I had them do their drawing for the center.  In the featured lesson I created, I had them draw "Y" trees in 4th grade.  This year, however, I showed them how to draw trees a little more realistically and I required them to use value in their drawings as a follow up to our value cities.  These drawings are much more advanced than the ones in my previous project, so I'm definitely happy with the changes I made!  This year, we are currently in the process of carving out our leaves in the lino blocks.  Hopefully I'll have more to share on this project at the end of the upcoming week!


 Drawing their leaves onto their lino blocks. 
Some of the finished leaves on the lino block.


These are some of the early finishers...despite only spending two class periods on these drawings, they're pretty good.  These particular students are already using better value than in their city drawings.


This one is really great!  This student really understands the concept of shadows!  Now I just have to work on getting him to have a better composition!

More pictures to come once we get a little farther into the project!