Showing posts with label painting. Show all posts

Friday, January 31, 2014

7th Grade Projects...

Wow...you'd probably believe me when I say I'm still trying to catch up on grading and getting organized at school three weeks later!  Quite a few projects were complete but ungraded by my sub at the end of my leave and 10 week grades are due tomorrow.  I've been cramming during my prep periods to try and get everything caught up so I could photograph and blog everything that has been done so far...so here goes!

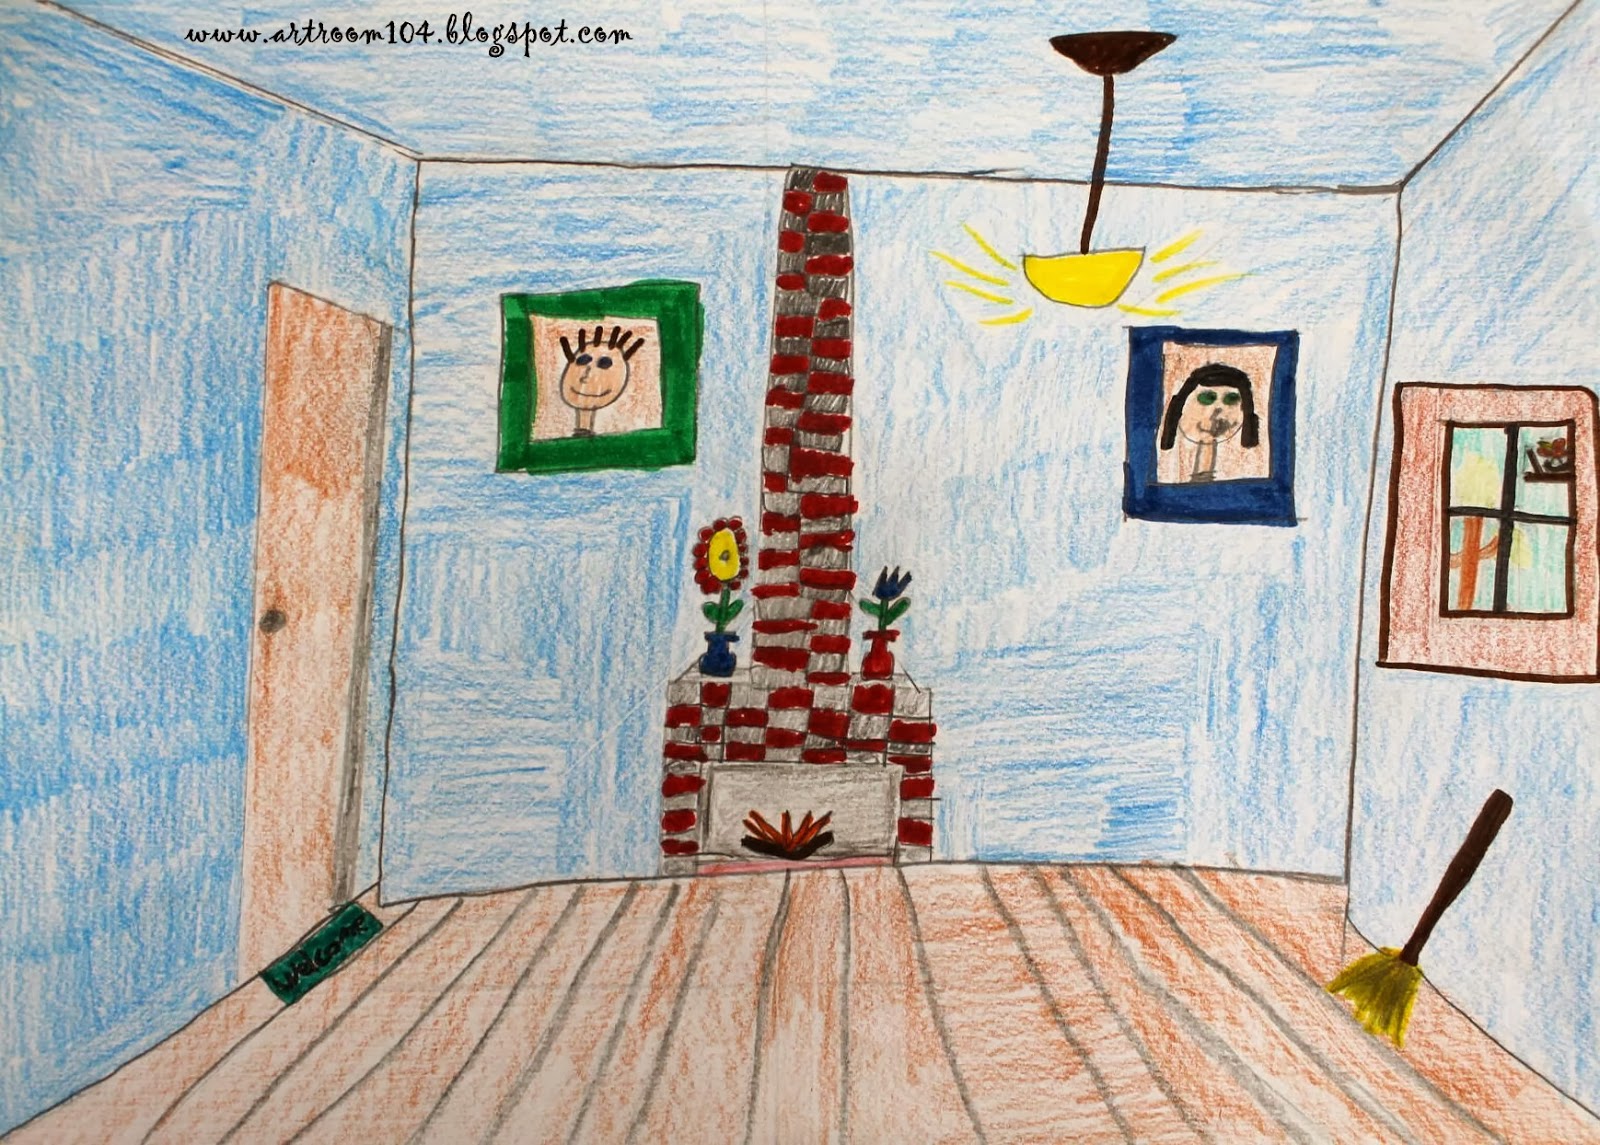
When I left, I had started my 7th graders on a perspective unit.  Much to my dismay, the project flopped.  Well, it didn't flop, but they definitely didn't produce the type of work that I expected...more like their laziness didn't allow them to follow directions properly.  For the most part, they did understand the concept of 1-point perspective, but they did A LOT of complaining about it (even though they were the ones who suggested this as a project at the end of last year!).  From this, I have surmised that I basically need to do extremely simple projects with this group in order to keep my sanity intact.  Anyways, here are some of the better projects that were turned in from the perspective unit.  My sub did only do 1-pp and didn't attempt 2-pp with the students, of which I didn't blame her for not wanting to attempt.
If students chose to do a word, they were supposed to draw the word in 1-point perspective and then illustrate the word to look like itself...so if they did the word "building" the letters were supposed to look like buildings...if they did the word "fuzzy", they should have made the letters look fuzzy.  Unfortunately, they didn't understand that concept.


After completing the perspective project, my sub decided to do tessellations with them.  Despite how simple this project was, they STILL complained about it!  She decided to review color theory with the students.  Each student had to draw out of a hat and whatever color family they picked was how they had to paint their tessellations.  My sub graded them on having an interesting tessellation, tempera painting technique (painting each space opaque), creativity and the color family.  In the end, these projects did turn out really well...it just proves to me that these students do have it in them to use neat painting skills.  You can see the rest of the tessellations on Artsonia.


Thursday, October 17, 2013

Studio Art: 2-D Media Unit: Painting! (If Picasso Painted Superheroes...)

Last week on Friday, we started the second portion of the 2-D media unit, which happens to be painting.  On Tuesday, we talked about what paint is made of, the three different water based paints versus oil paint, and painting surfaces.  We also started to dive into the art criticism process.

Then, on Tuesday this week, we talked specifically about Picasso and cubism.  I gave students an additional note sheet that had notes for Picasso, as well as the objectives, checklist and rubric for the next project..."What if Picasso painted a superhero?"  Before beginning this, I showed them the Superhero Series by Mike Esparza, which is a direct idea steal from Pinterest.

The students are REALLY enjoying this so far.  Here are the project objectives and the checklist I gave students with their rubric:

Project Objectives: 
By the end of this project, I will be able to… 
1. Describe the characteristics of cubism. 
2. Discuss how life events affected Picasso’s artwork during his three artistic periods. 
3. Create a cubist representation of a super hero using acrylic paint. 
4. Identify the order in which a painting should be constructed in. 

Project Guidelines: 
☐ You must choose a superhero or villain to depict in the cubist style. 
☐ Your painting must depict the subject from at least the waist up. 
☐ The subject needs to take up at least ¾ of your canvas. 
☐ You must use full color and value in your painting. 
☐ You must show knowledge of the cubist style: 
~ Multiple view points 
~ Use of geometric shapes 
☐ You must unify your background with the subject.

What's ironic is that the students were starting to complain at the drawing assignments because they were having to draw realistically and use lots of value...now they're complaining that it's too hard to try and intentionally draw their superhero unrealistically!  

So far we are two days into this painting.  On Wednesday students had to draw out their superhero.  Some struggled, and some did quite well.  I encouraged them to simply break down their figure into basic shapes, and then to move body parts to be where they aren't...turn an eye ball sideways, put an eye in the middle of the forehead, put the mouth on the side of the mouth, etc.  I also pushed the idea of the multiple view points, which is a little bit harder of a concept for them to grasp, I think.

I then also introduced the students to acrylic gel medium, which was new to them and actually new to me.  Last year, when I was grading post-assessments with another fellow art teacher, one of the projects she did used these gel mediums to give texture, and I loved it!  I bought a large jar of the modeling paste and then three each of the coarse pumice and fine pumice gels.


We applied the gel medium using paint knives...

My painting is on the left.  I gave students a demonstration today on how to paint by blending colors on the canvas instead of in their paint palette.  A few students started painting their backgrounds today.

This was just a quick preview of these projects...tomorrow I am taking a day off for my 34 week sonogram.  I anticipate that the students will start finishing these up by Wednesday and Thursday next week.

On a side note, the Art 7 students have finished their first tag, but after I hung my brick wall today at the end of the day, I forgot to take a picture of it to share!  That will have to wait until Monday!

Tuesday, September 24, 2013

Studio Art: Unit 2 Begins...2-D Media

My first unit lasted about as long as I had hoped it would, and on Friday we began our second unit.  Our second unit is all about 2-D media...drawing, painting and printmaking.  I am also combining art criticism with this unit.  The textbook I am using has art criticism as its own unit, but there is no way I'm going to spend an entire week or two just on art criticism...that's something we can work on over the school year to perfect, a little at a time.  The students have also been antsy to get started on a "real" art project.

The cover of my unit 2 note packet...stay tuned to the SmARTteacher website...my unit is posted there now!


On Friday, I introduced/reviewed value and the four common shading techniques with the students: hatching, cross-hatching, stippling and blending.  They had to practice in their notes and then for their second sketchbook assignment, I asked them to set up a 3-object still life at home, shine a light on it, and draw it using value.
This is the generic sketchbook assignment rubric I have created for the weekly sketch assignments.  Each student has now seen this and will have their Friday sketch assignments graded according to this rubric every Monday.  So far, I think I'm happy with it...but we'll see if I feel like I need to make any changes to it.

On Monday, we started off the unit by discussing the different drawing media that can be used (oil pastels, pencil, chalk, etc.) and we spoke briefly about art styles.  Again, this is something we will work on throughout the school year, but the projects we do for this unit are all going to fall under the realm of pop art, so I want students to have a basic knowledge of what pop art is compared to the other styles of art.
In the back of my packet, I put colored copies of these paintings.  We cut them out, and then one at a time, we talked about which style they thought these fell under.  Quite a few students new some of the more popular artworks here and knew the styles (although when I had them in 6th grade, they had to do a group research project on an artist...I found it quite wonderful that a lot of them retained the information!).

 Now, as I graded those sketch assignments on Monday, I realized that the students (a) didn't have a good idea of what I meant by set up a still life and (b) didn't know how to properly utilize value with observation skills.  Thus the reason why it's important to give sketch assignments as homework (a good way to assess prior knowledge!).  I threw out my original plans for the next few days and pulled out the mannequins I bought for the elementary room with past SmARTteacher winnings.  I set them up in the middle of the tables, let the students arrange them, turned the lights off and put a spot light on the figures.  I gave a brief demonstration of how they should quickly do a contour drawing of the figures and then demonstrated the proper way to observe value.
The students REALLY enjoyed doing this and asked if we could work on it again tomorrow...heck yes!

I found that they did okay observing the shadows and high lights, but they had a tendency to just give a dark and light value.  I went around to each student and asked if I could show them on their drawing how I wanted them to exaggerate what they saw and make more of a range of values, from black to white and everything in between.  Once they saw how much their drawings started to pop, they were really excited!

Tomorrow, I am going to give each student a large piece of drawing paper and an ebony pencil.  I envision having them do multiple drawings of the figures on one sheet of paper...a super huge close up of a figure that goes from top of the page to bottom...smaller figures that go off the page, etc.  Just a montage of mannequins!
 --------------------------------------------------------------------------------------------

Once we move on from practicing the value (probably by Thursday or Friday this week), students will have to bring in a wrapped food item, such as a candy bar, and do a large, up-close black and white drawing of it.
As we move onto the painting aspect, students will learn about how paint is made and we will then use our candy bars and acrylic paint to do a pop art painting...I'm thinking more in the style of Claes Oldenburg.  I want them to incorporate some acrylic mediums that I bought to give their paintings texture.  This project will be a way for students to utilize the elements and principles to create an interesting composition.

For the final 2-D project, printmaking, students will do some reduction printing ala Andy Warhol.   I did this with my printmaking class when I did my student teaching, and I have my example hanging on a bulletin board in the high school art room that students were admiring and mentioned they wanted to do (I hung up some of my artwork from the past, both high school and college, so that students could see what I am capable of).  So, I'll have students bring in a popular object to turn into a multi-colored print.

This unit will also introduce art criticism to the students.  That was originally what I was going to start with, but I was tired of doing the note thing, and so were the students.  I prefer getting the boring stuff out of the way in the beginning, but I need to remember that the students don't think that way!

Saturday, October 6, 2012

3rd Grade Fall Birch Trees


The birch tree project is one of my all time favorite projects to do!  I've done this with my 3rd graders each year I've taught so far, and each time I do it a little bit differently.  The first year, we did winter birch trees, using masking tape to mask off the trees before painting and markers to add the tree lines.  Last year, we did winter birch trees, using salt in the sky to make snow flakes and marker again for the tree lines.  This year, thanks to Pinterest, I think I've made this project even more exciting for the kids!  This year, my 3rd graders will be doing this project two more times so that they can master depth using a horizon line, placement and size.  Here are the steps we took to make this project!

1. On the first day, we looked at various photographs of trees and discussed depth.  We talked about placement of the trees in the foreground, middle-ground and background, as well as how skinny or thick they were in relation to their distance from the viewer.  Then we taped off our trees and drew our horizon line in.  The tree placement was a struggle to understand for some students, so it required some assistance from me.  I had the students who really understood the concept go around and help othersStudents were allowed to color any details they wanted to add with crayons, such as a path, pond, house, etc. but were not allowed to color the sky or grass.
\
2.  On the 2nd day, we finished coloring our details and painted our drawings with watercolor paint.  I did a demonstration on how to blend watercolor paints before they dry to alter their colors a little bit.


3.  On the third day, we peeled off the tape very carefully.  I demonstrated to the students how to use the flat side of a scraper to add the birch tree lines with black tempera paint.  The last step was to add fall colored leaves to our paintings with Q-tips!  I LOVE the way these turned out!  They are always one of my favorite projects to do because no matter what the skill level, it's pretty easy get all the students to succeed!  Plus, this year I plan to do a winter version and a spring/summer version with all the students so they should be able to plan their tree placement and horizon lines on their own without my help by the end of the year!


The first two paintings are student's and the one on the bottom is mine that I did to demo all the techniques.  More pictures to come!  These were all stacked on the drying rack when I left school Friday so I couldn't take many pictures!


Tuesday, July 24, 2012

Private Art Lesson Day!

This last school year, a parent of one of my students asked if I would give her daughter private art lessons!  So exciting!  We started off with learning to draw a still life and observing placement.  (Oh yeah, my student was in third grade when she started these lessons with me.)  We went onto some basic shading and then added shading to the still life.  Here are some of her drawings she has done with me.

 She was having a hard time controlling regular pencil so we started off creating value with colored pencils.  After she got the hang of that, we moved to black and white shading.
Here is a one hour still life she did, shaded with colored pencil.


After the drawing lessons, we moved onto painting, which she is really enjoying.  I have taken pictures of all her paintings up until now, but we started with q-tip pointillism for mixing colors...We did a koi pond pointillism painting and then we created a Monet style water lily painting.  Those were both one hour paintings.  During her previous lesson, we started a peacock and it turned out really great!  This peacock painting is a two-hour painting.  

We started by doing a pointillism body.  We added details to the smaller green feathers with a fine tip brush.  The second art lesson, we added the tail feathers using a combination of brush painting for the stems of the feathers, an actual feather to create the wispy feathers, and pointillism to create the eyes on the feathers!  I think it looks awesome!

Recently, my student and her mother took a four hour painting class by a local artist and she really enjoyed it.  She was able to paint in oil paints and did a really nice job!  We're going to move onto watercolor paint (from the tube) and then eventually oil paints in our private lessons.