
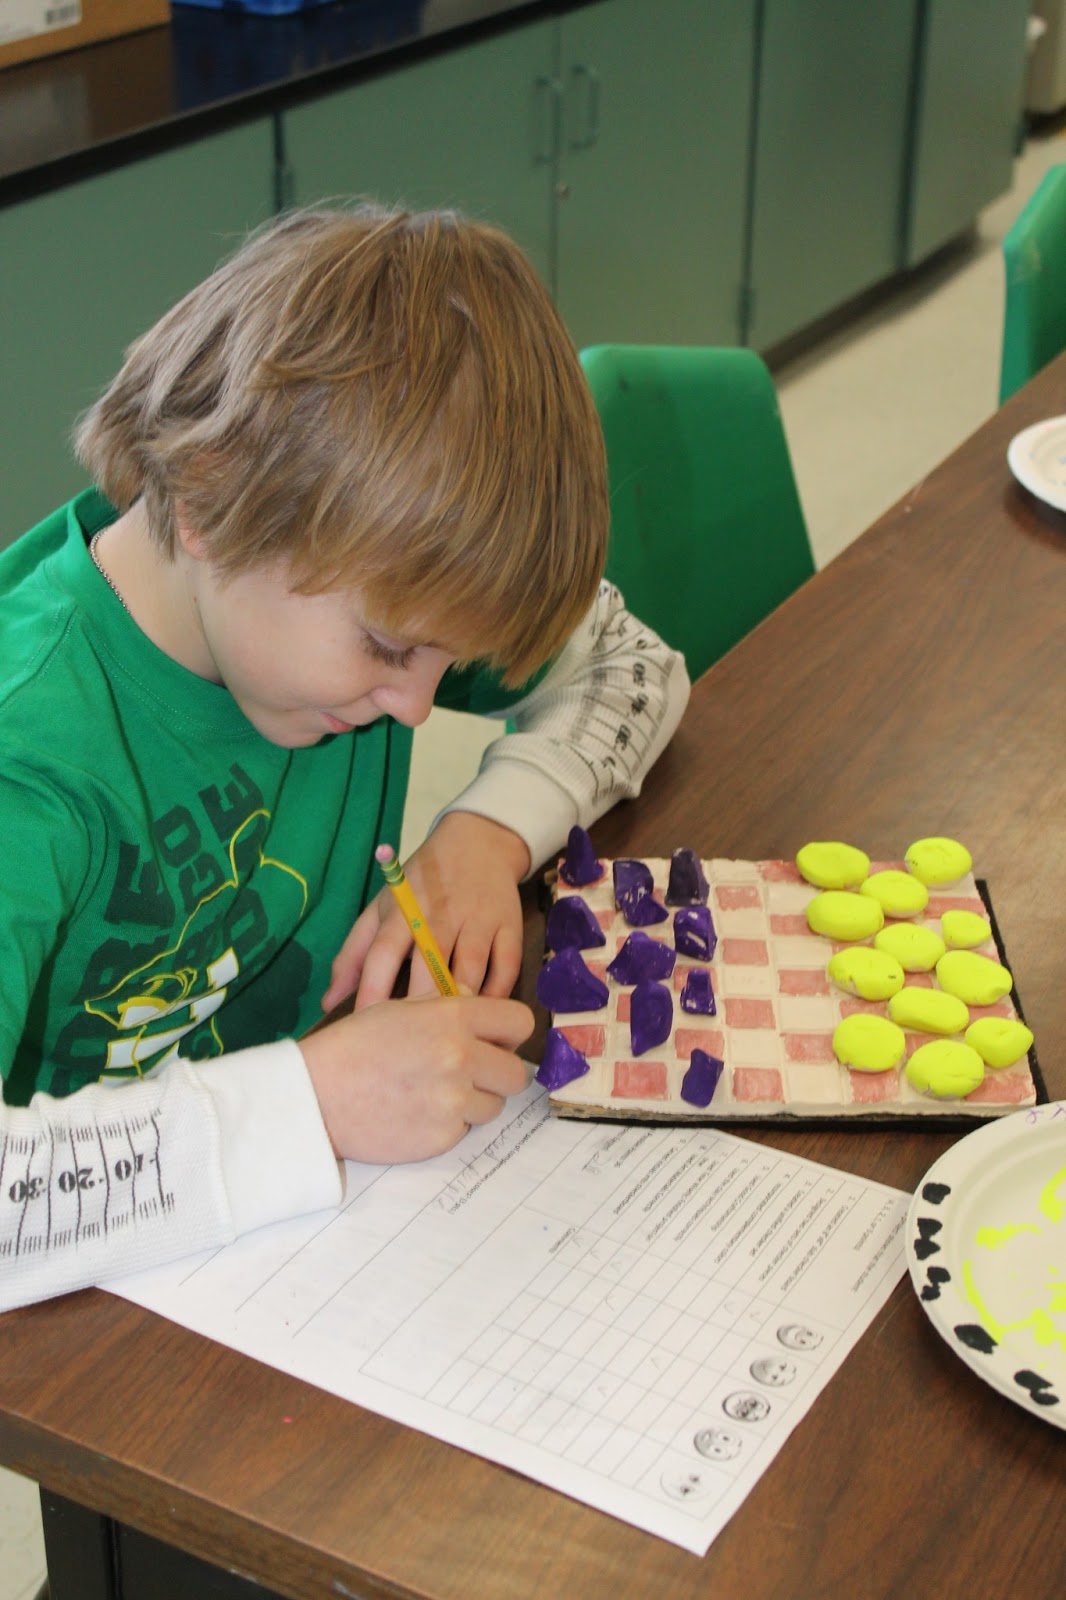
Today, Class A finally started finishing up their checkerboards! A few were able to actually play a few games with a partner. I'm a little disappointed in the details of their checker pieces. Quite a few students sculpted these awesome pieces, but then painted them only one color....no other details added. I had to push and encourage them to paint more. Pictures to come next week once everyone is finished and I start grading them.
Here is the worksheet students had to fill out before and at the end of the project: Front page was the design process and the back of the page was the rubric and a short quiz to test them on what they've learned so far.


As the students start to finish these up, I've made some mental notes about how I need to change this project next year.
1. I like having them make the slab checkerboards, however next year, I will fire them and then have the students glaze them instead of underglazing them before firing. In actuality, they didn't break too badly, but I think less of them would have broke if we would have done it the other way around.
2. They will make their checker pieces using Crayola Model Magic instead of clay. The class that made the Model Magic pieces did so a little quicker than the other class. Plus, I feel like we wasted clay because it started to dry out in the chunks they were given as they sculpted their pieces.
3. I completely forgot to take into consideration the actual game of checkers. When a pieces gets to the other side, it turns into a king and it usually is flipped over. The students began realizing this as they were playing today, and were able to work around this by turning their pieces over or stacking a second piece on top. However, some students can't do that because of the nature of their shapes. Next year, they will either have to make a piece that can be flipped, or put some sort of marking on the piece to decipher what direction the piece is headed in.
4. Next year, I will have an example already made to show them. I've realized that I've gotten quite lazy when it comes to making the projects before I do them with the students. In my first year, I think I made each project before hand to test it. I think it will help them be a little more creative if I sculpt some interesting checker pieces.


These are cute! I always make an example before I present the lesson to the kids. It helps in more than one way... they get to see the finished project which helps get them excited and as I am working on it it helps me work out the details of how I will present/teach the lesson. It gets all the "bugs" out and I try to think about the steps through their eyes. Doing this has saved me some almost disasters before I teach the lesson! Keep up the good work! :)
ReplyDeleteThat was my way of thinking my first year, but then I noticed kids copying my example. Since in trying to force them to think a little more on their own, I don't really make examples anymore so they don't copy, but I show them lots of photos for inspiration. I did show then a checkerboard that I had found on pinterest that had lady bugs and flowers for the checker pieces, but I guess it wasn't enough.
DeleteI too I found when I first started teaching that my students would copy my example(and it made me crazy because I wanted them to express themselves!) Over the years I have found having an example to be the best route for me. The students got a better understanding of what they were going to create. I always stress originality and that they should come up with their own ideas but if someone likes an idea I had I let them "share" my idea. Instead of calling it copying I call it "sharing ideas". The kids are are allowed to be inspired by others(just like all of us arty bloggers!) but they also have to come up with their own ideas to add to it. Yes, I still have the kids who will copy mine but they are the few.
Delete